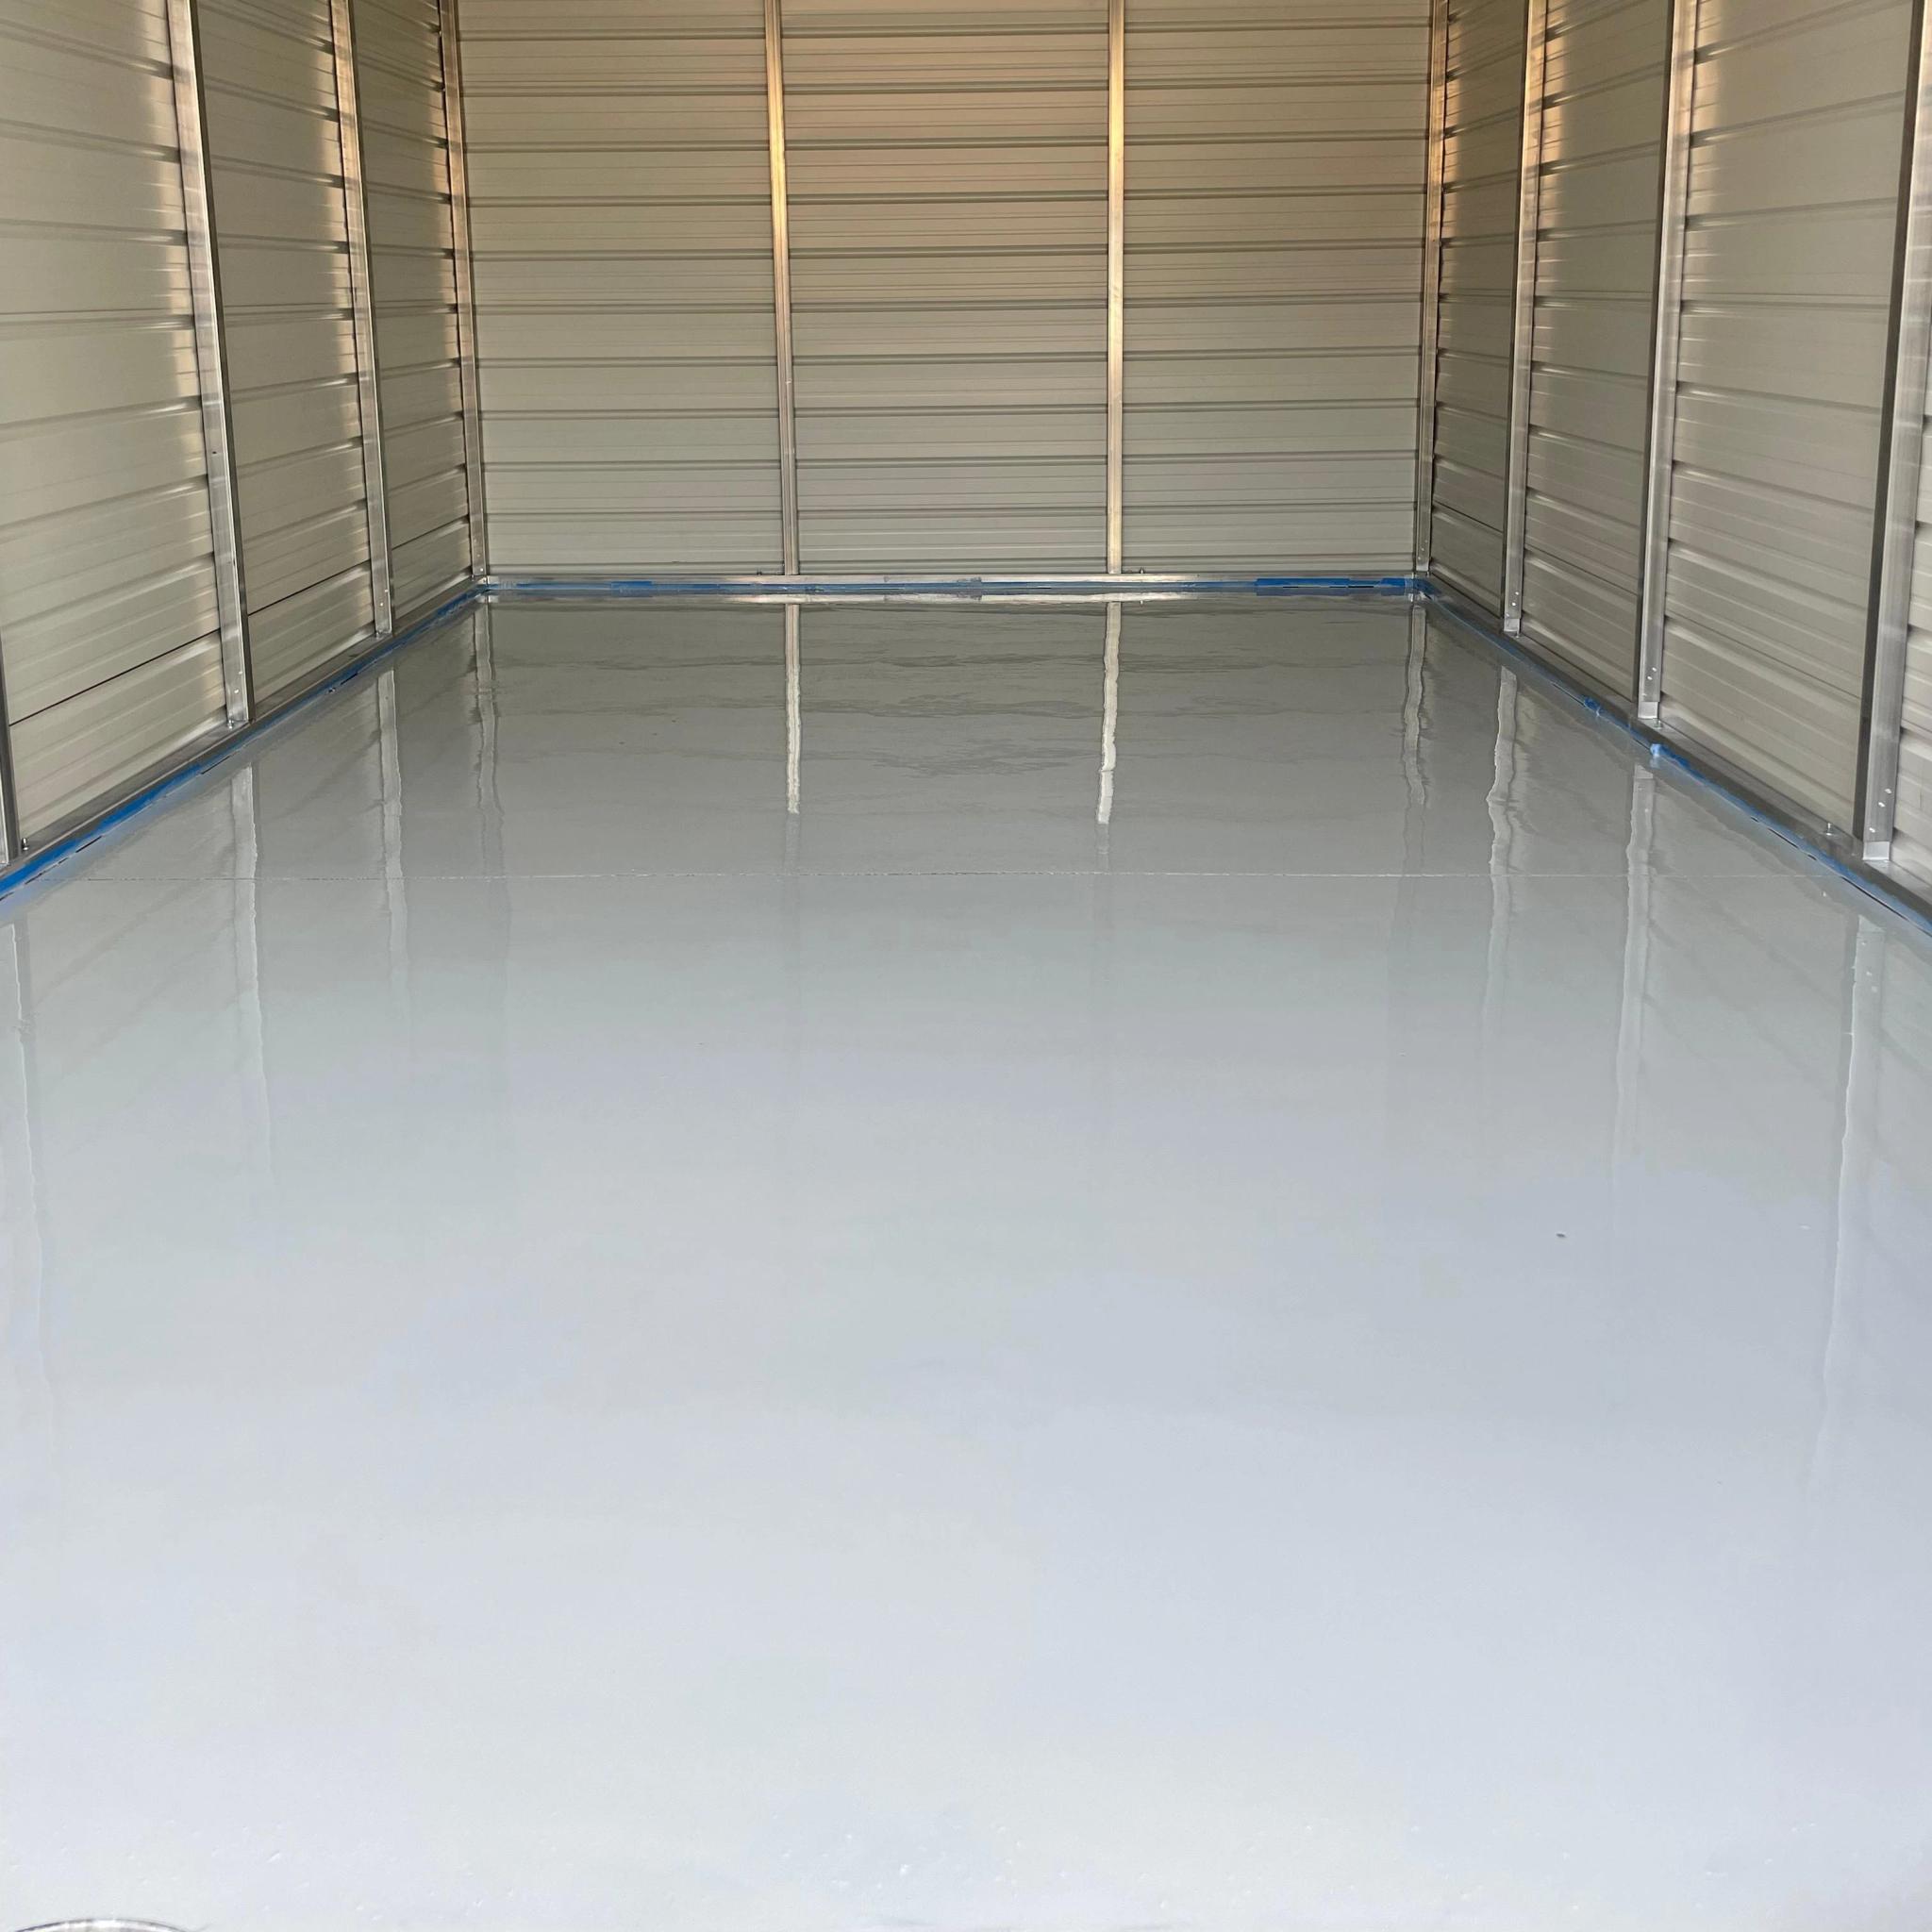
Single Color System



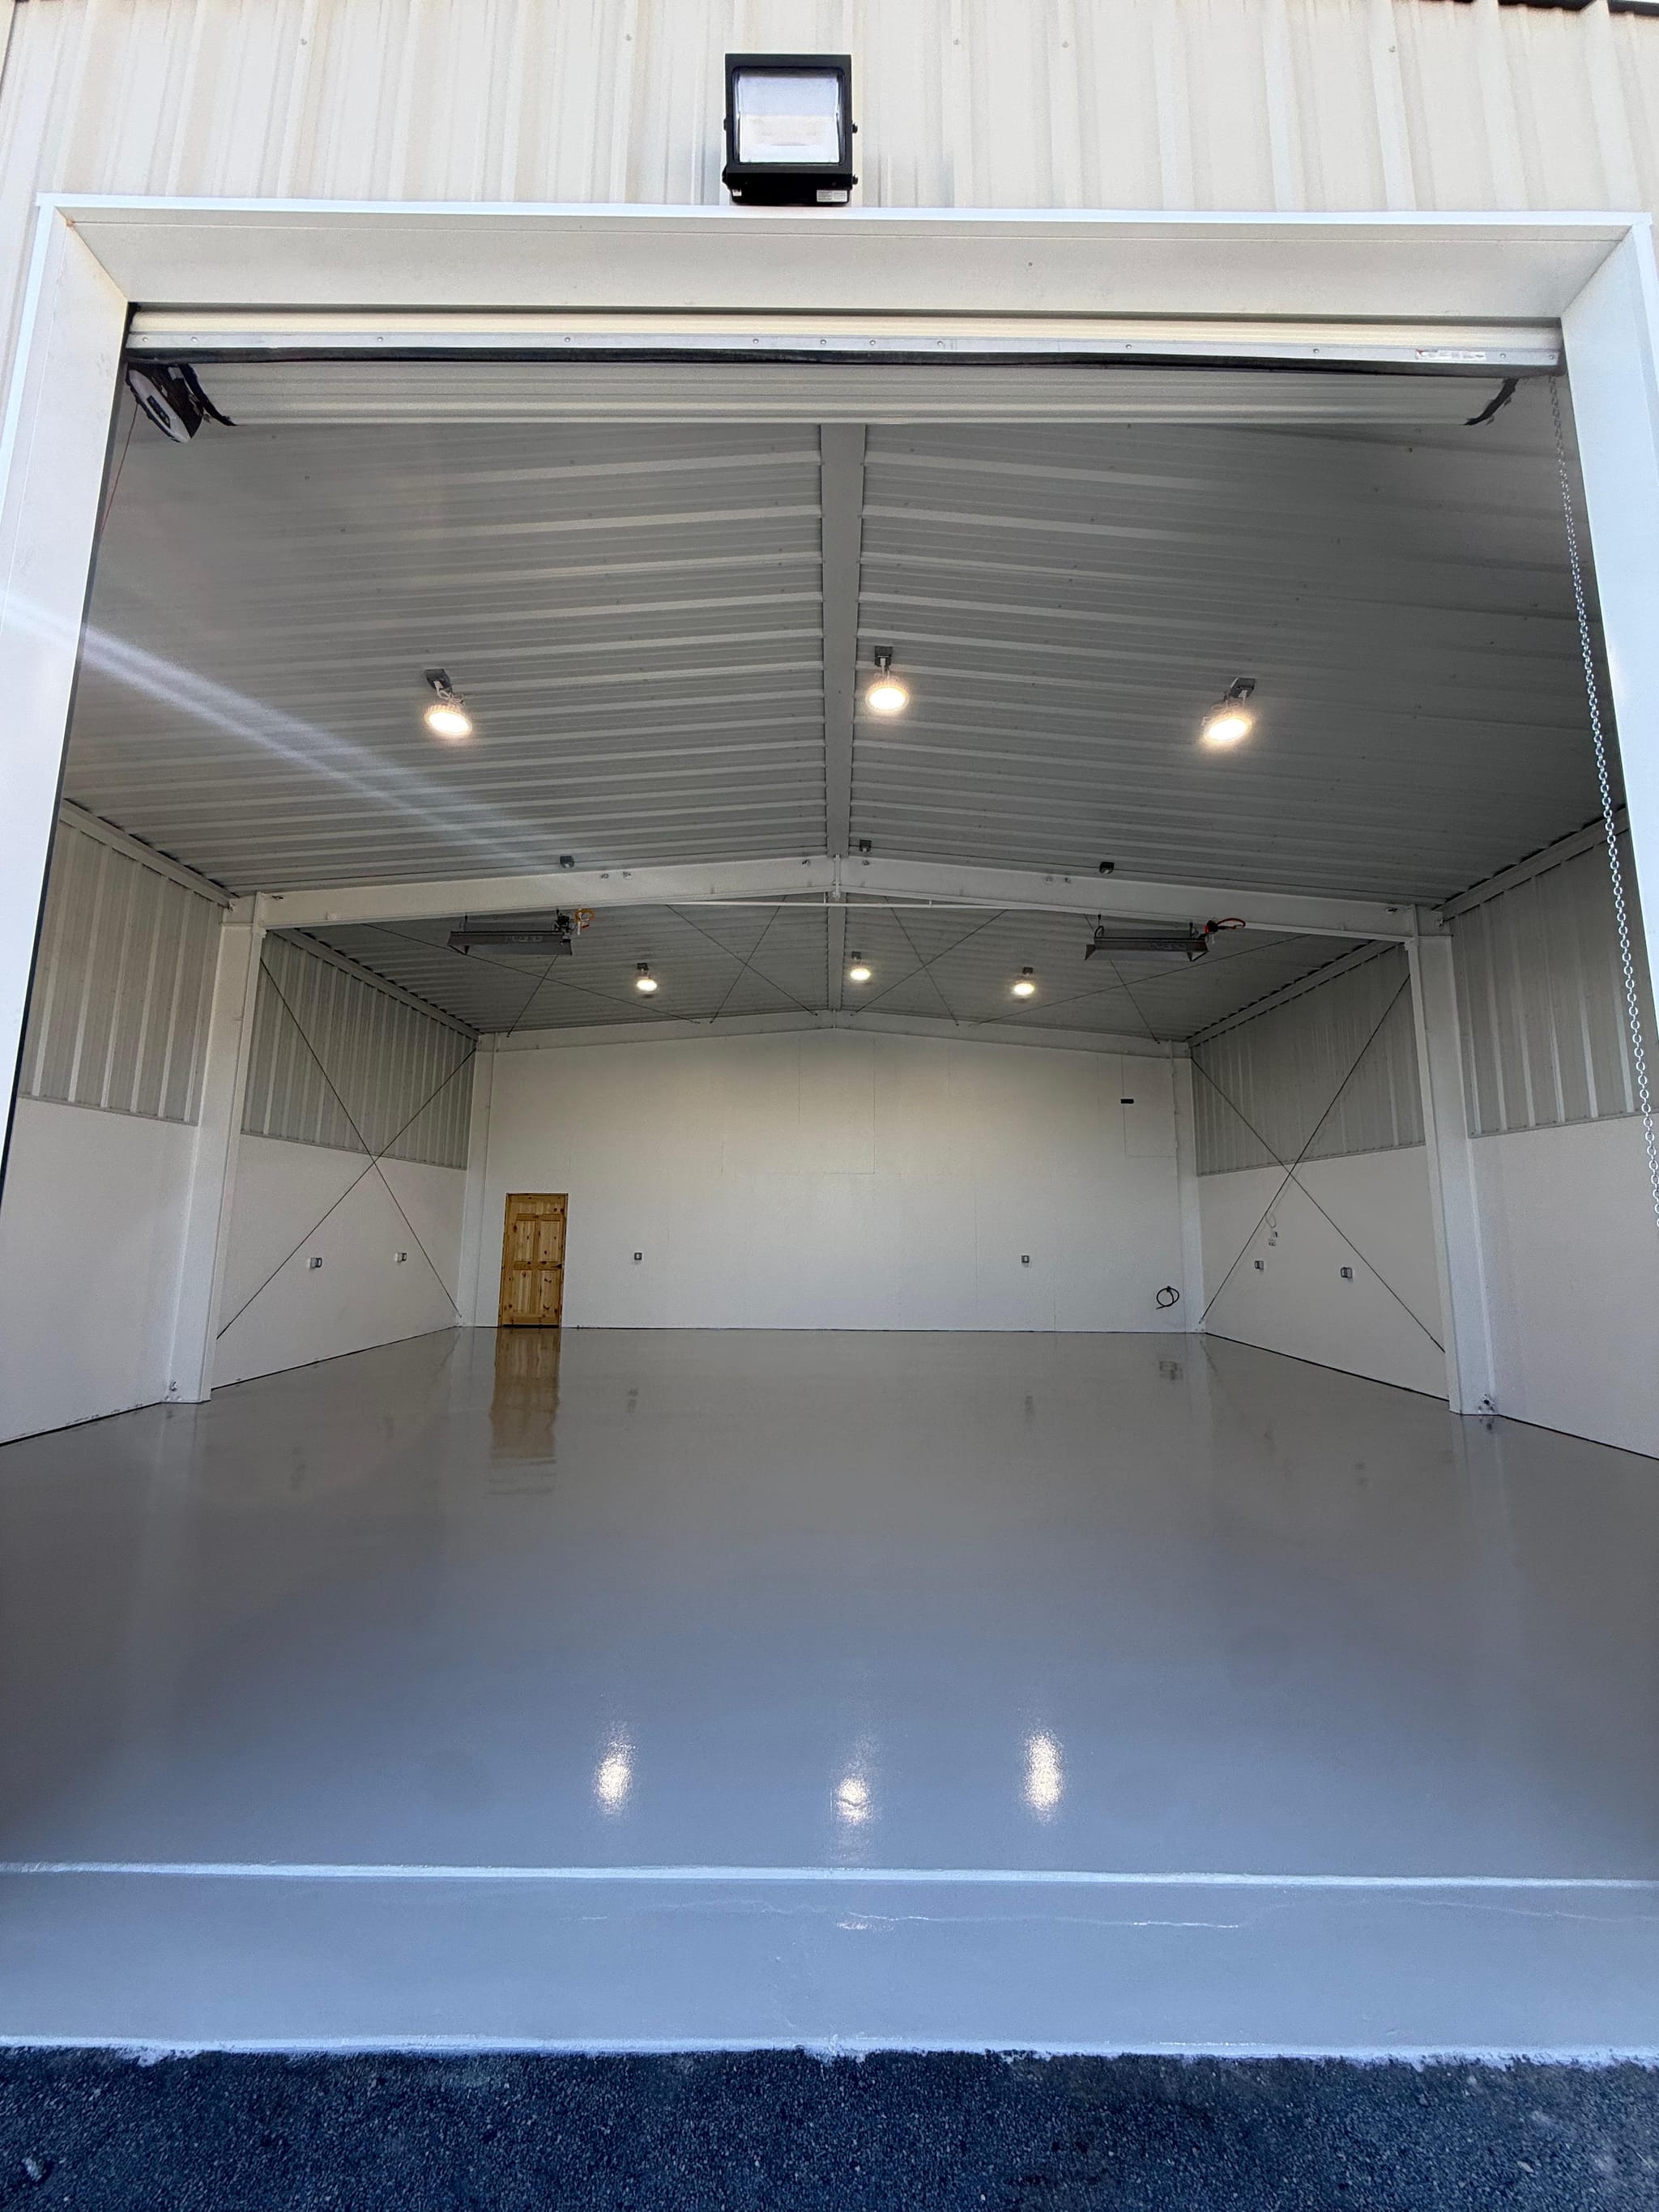
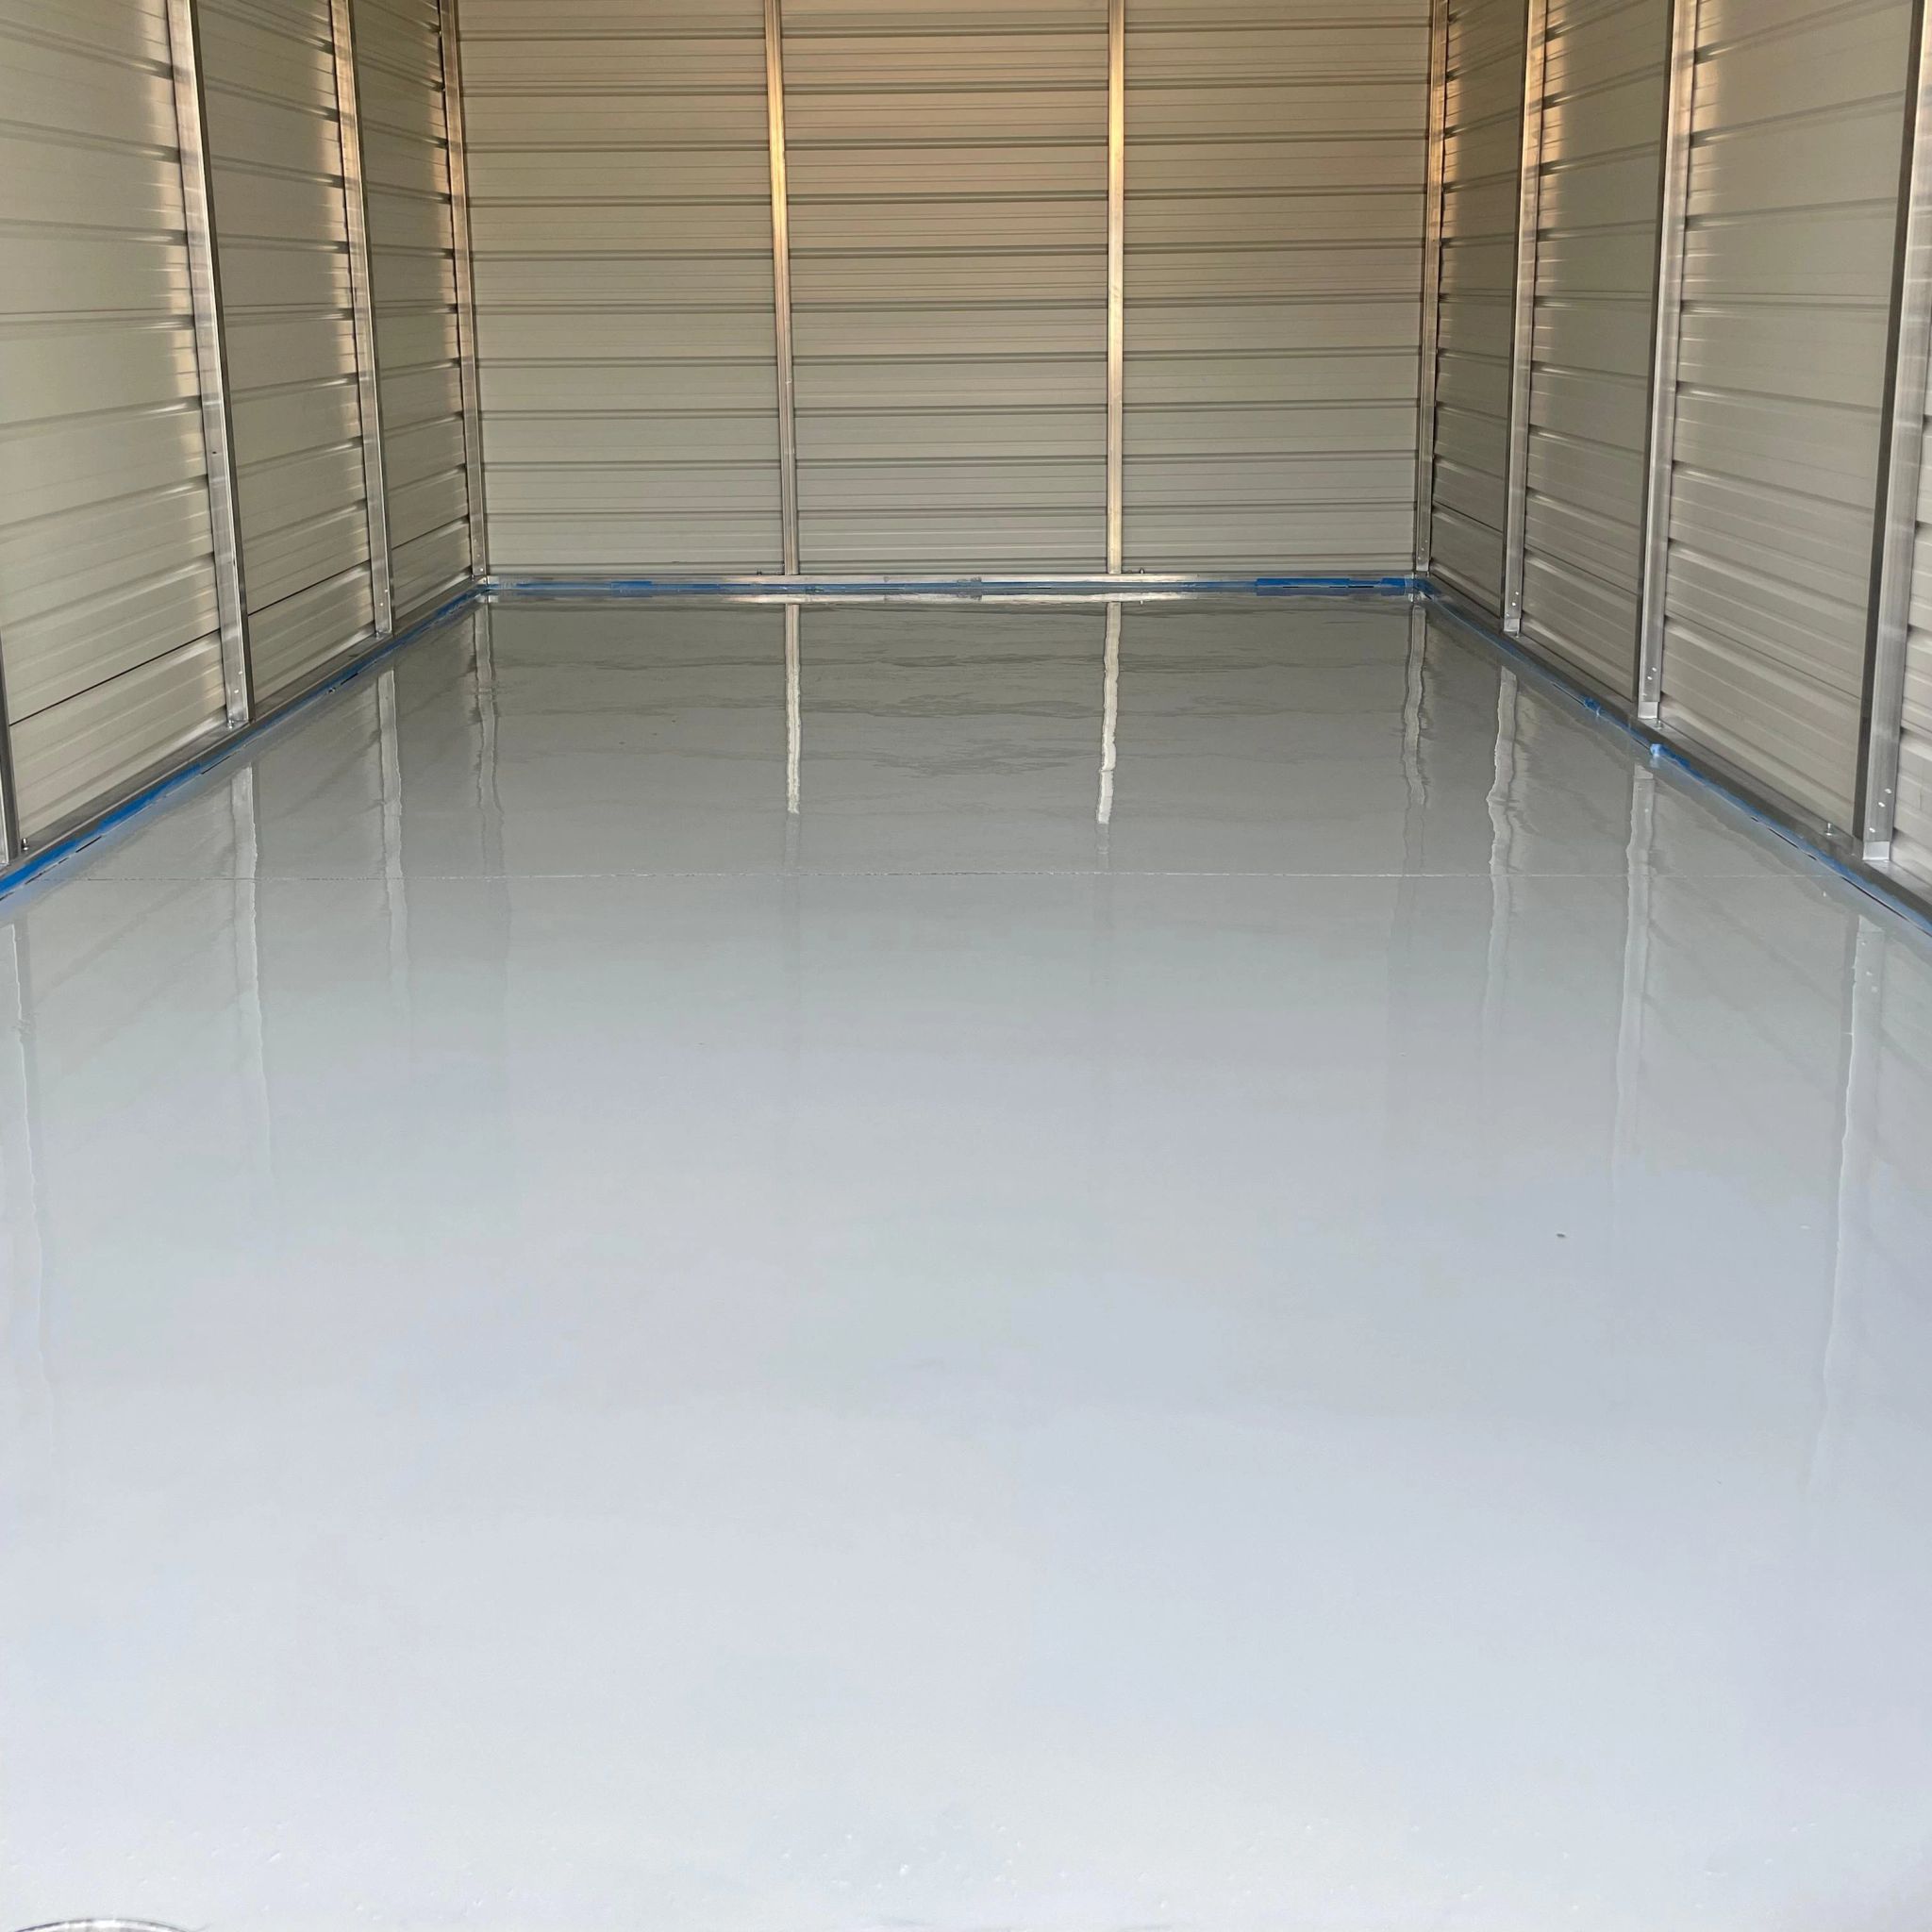
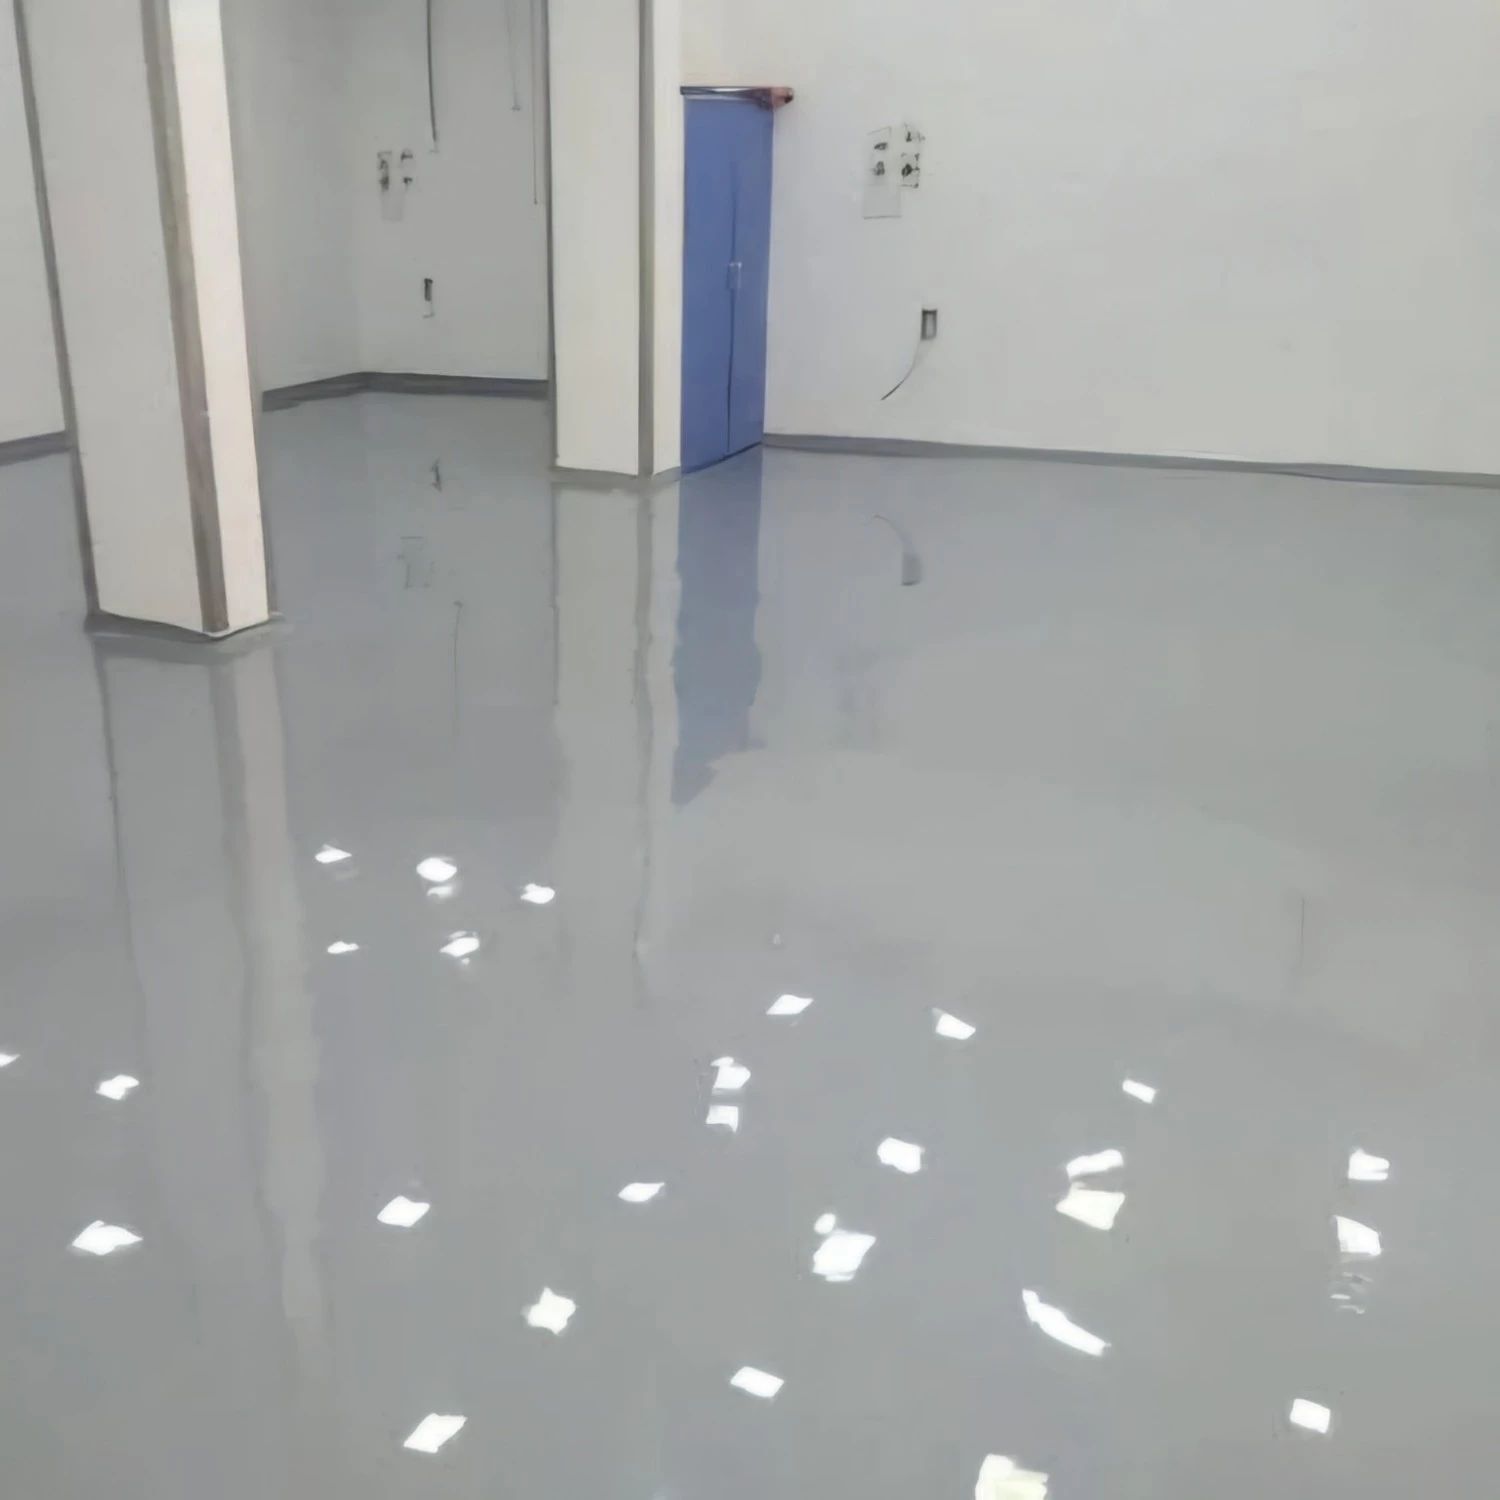
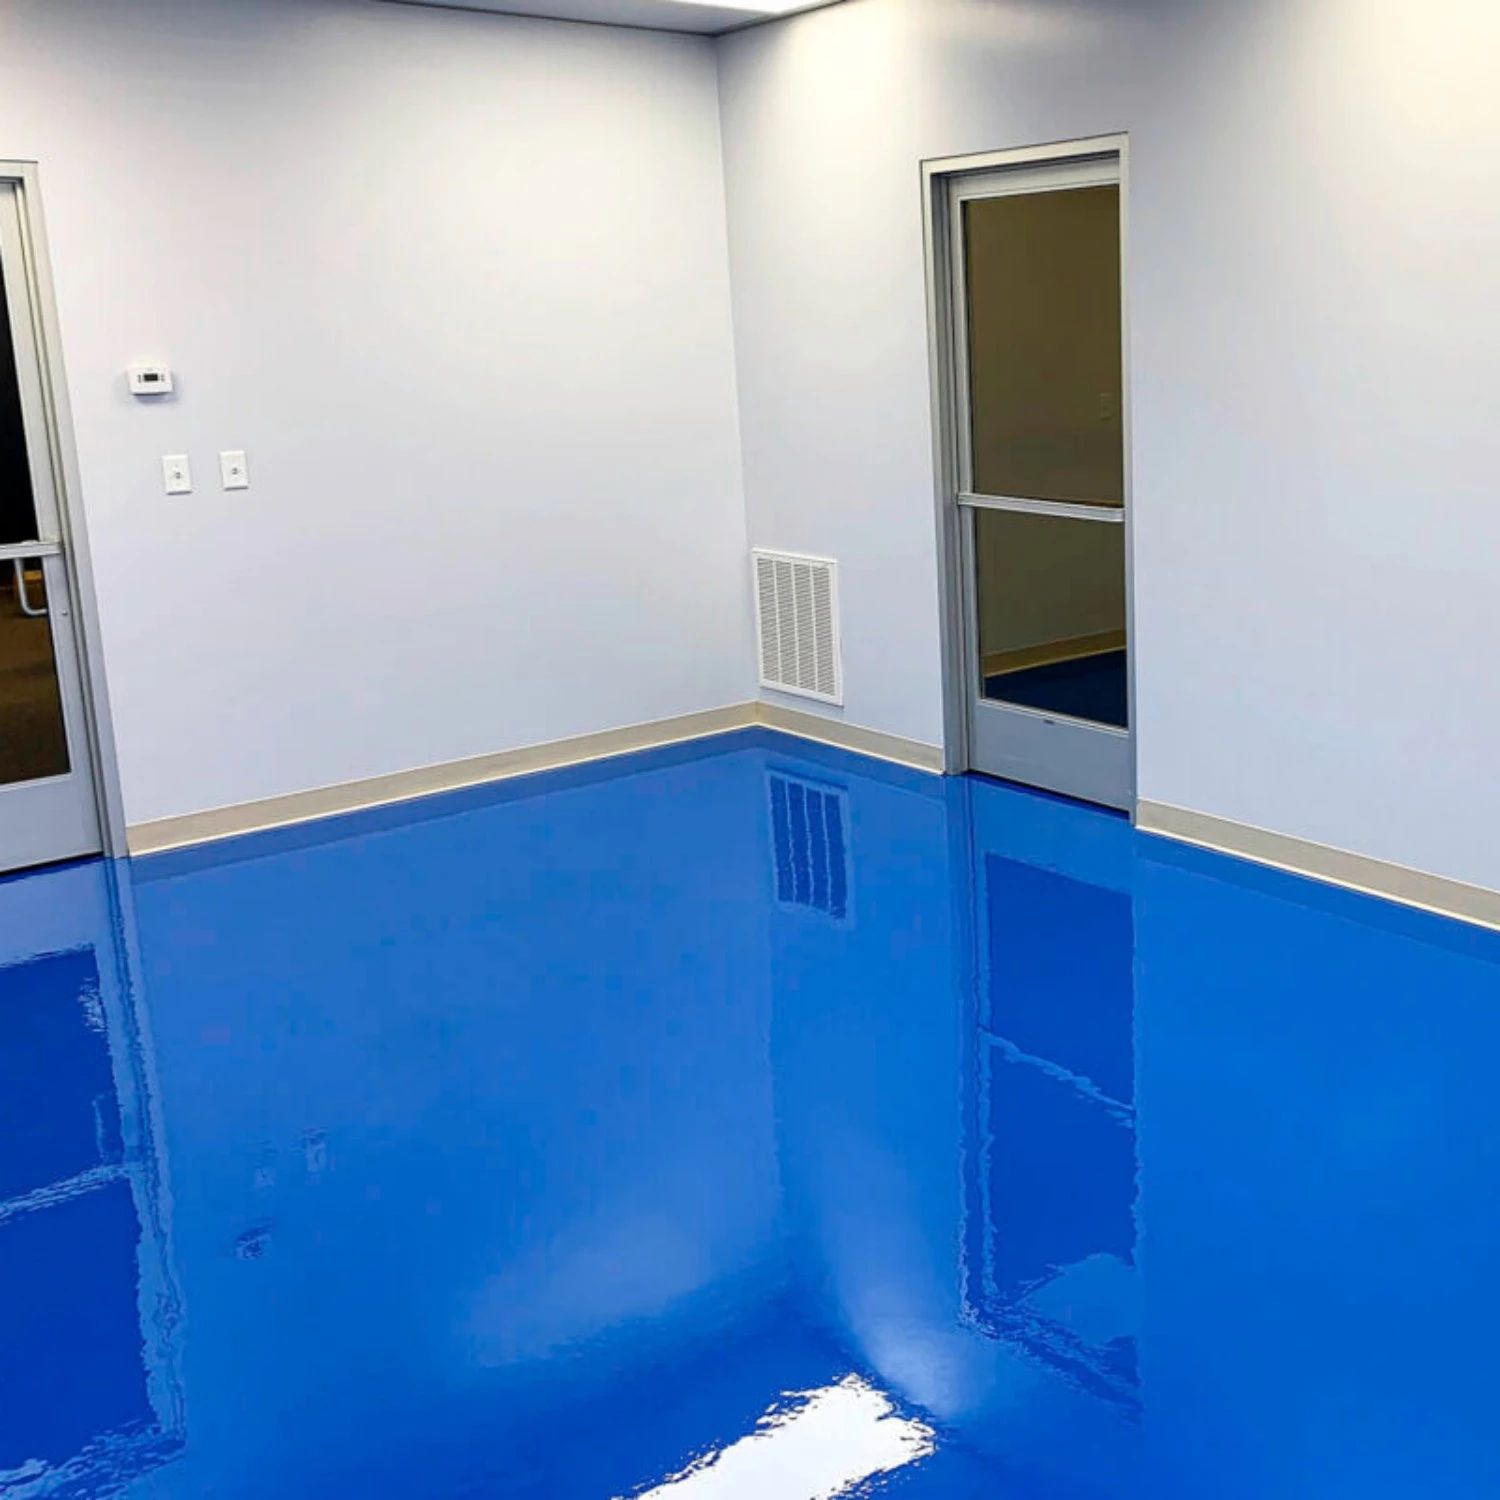
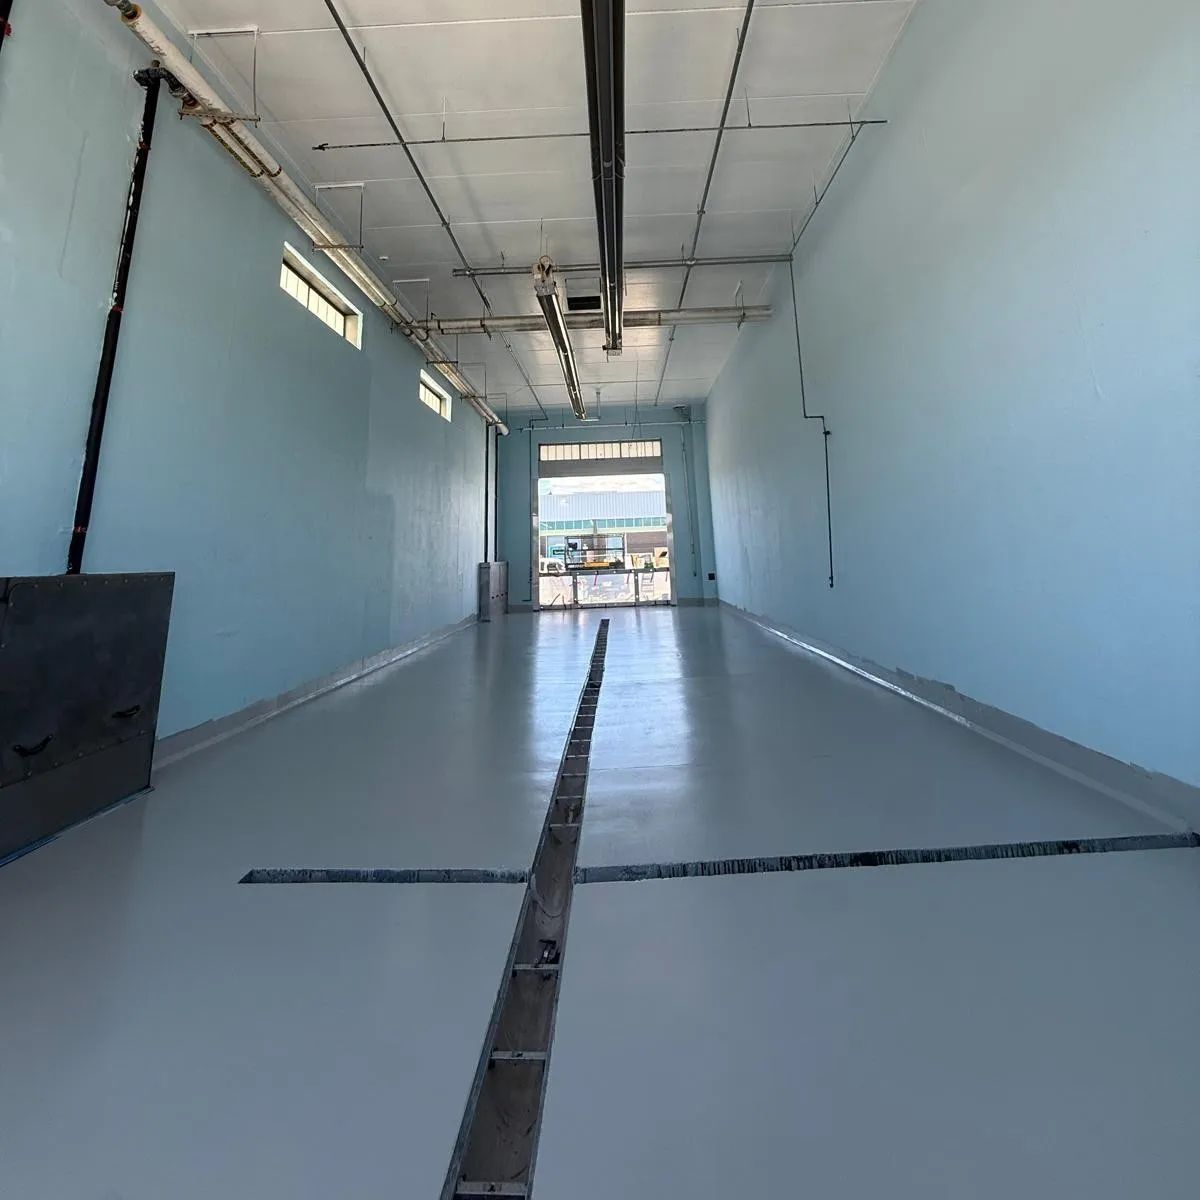
A single-color epoxy floor in not only sleek and modern, but it's also a practical choice. It's durable, easy to clean, and resistant to scratches, chemicals, and moisture, making it perfect for homes and businesses alike. Plus, with various colors to choose from, you can easily match your style or brand.
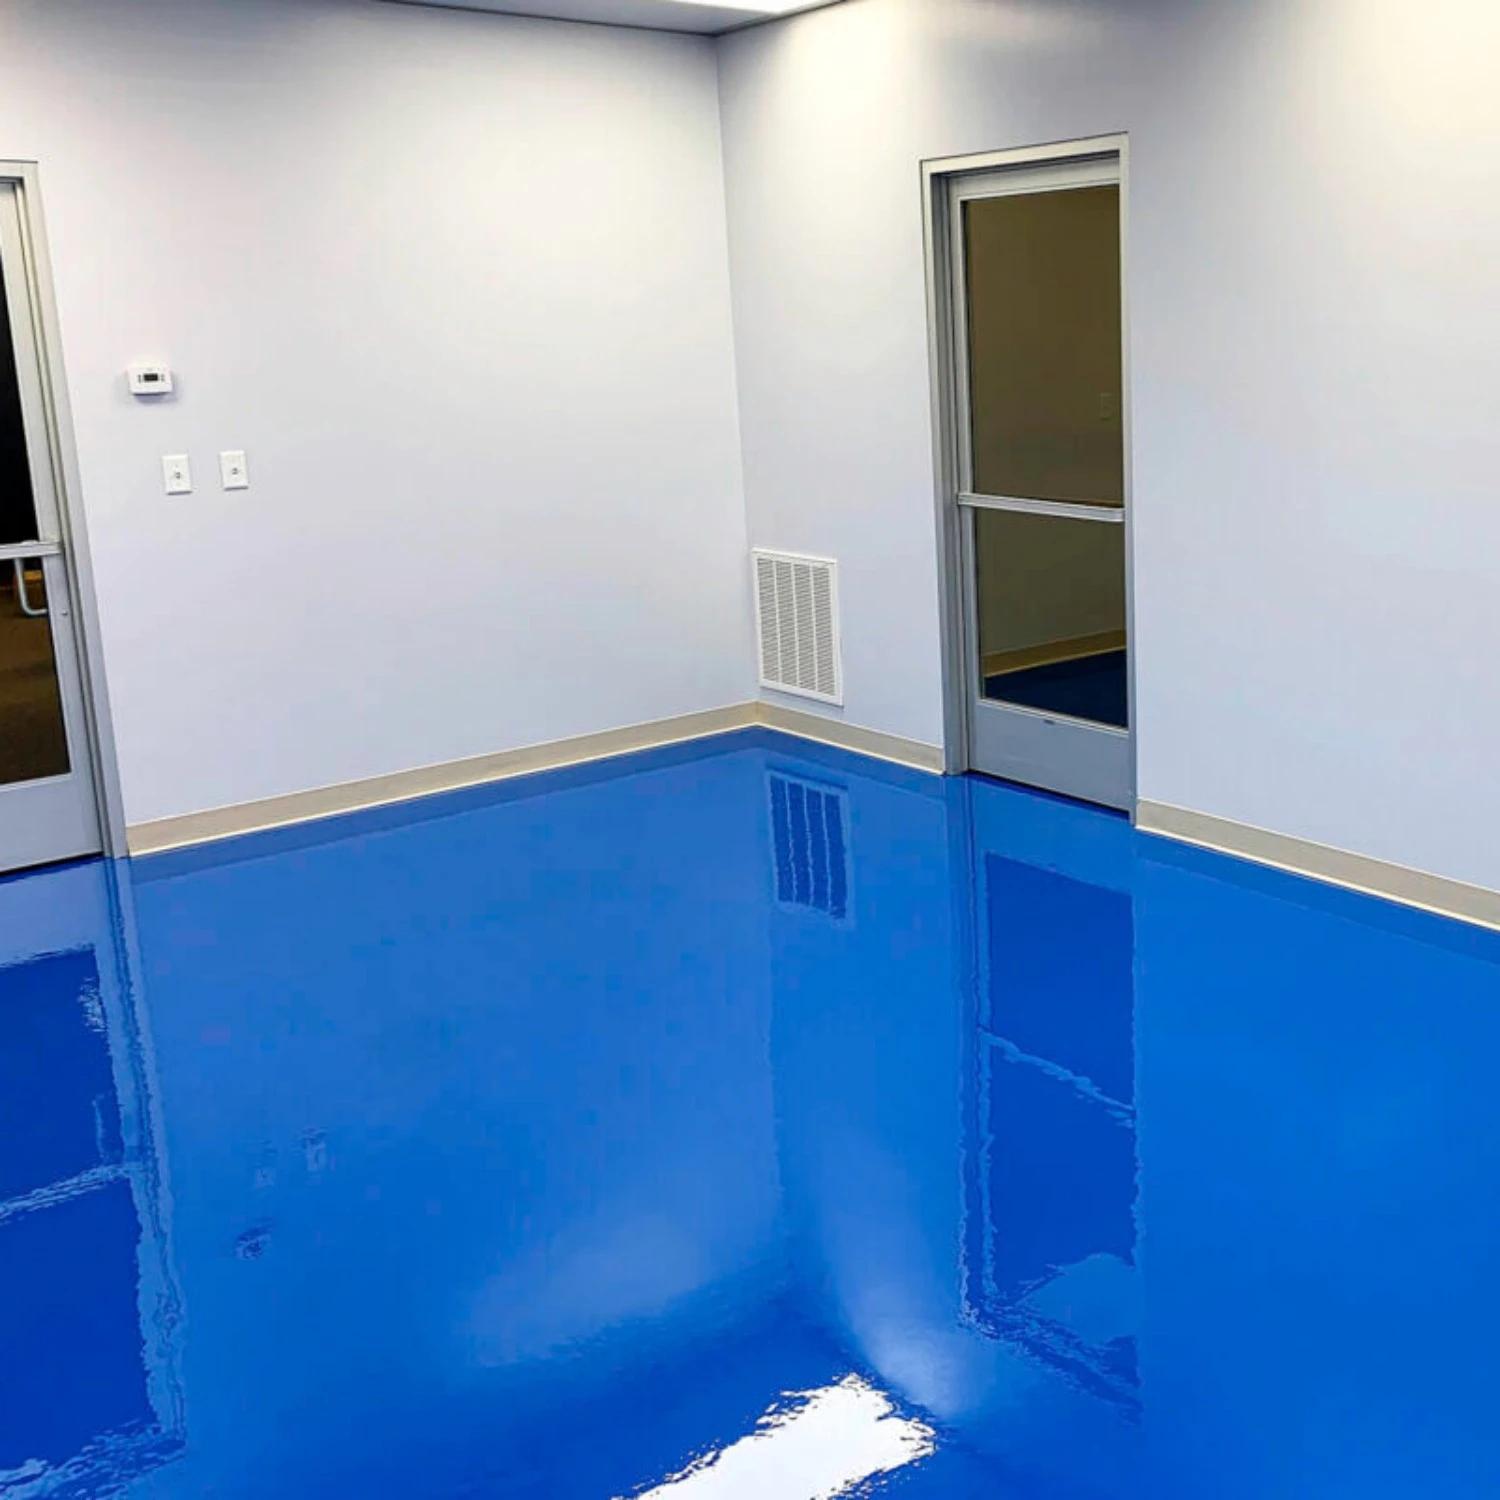
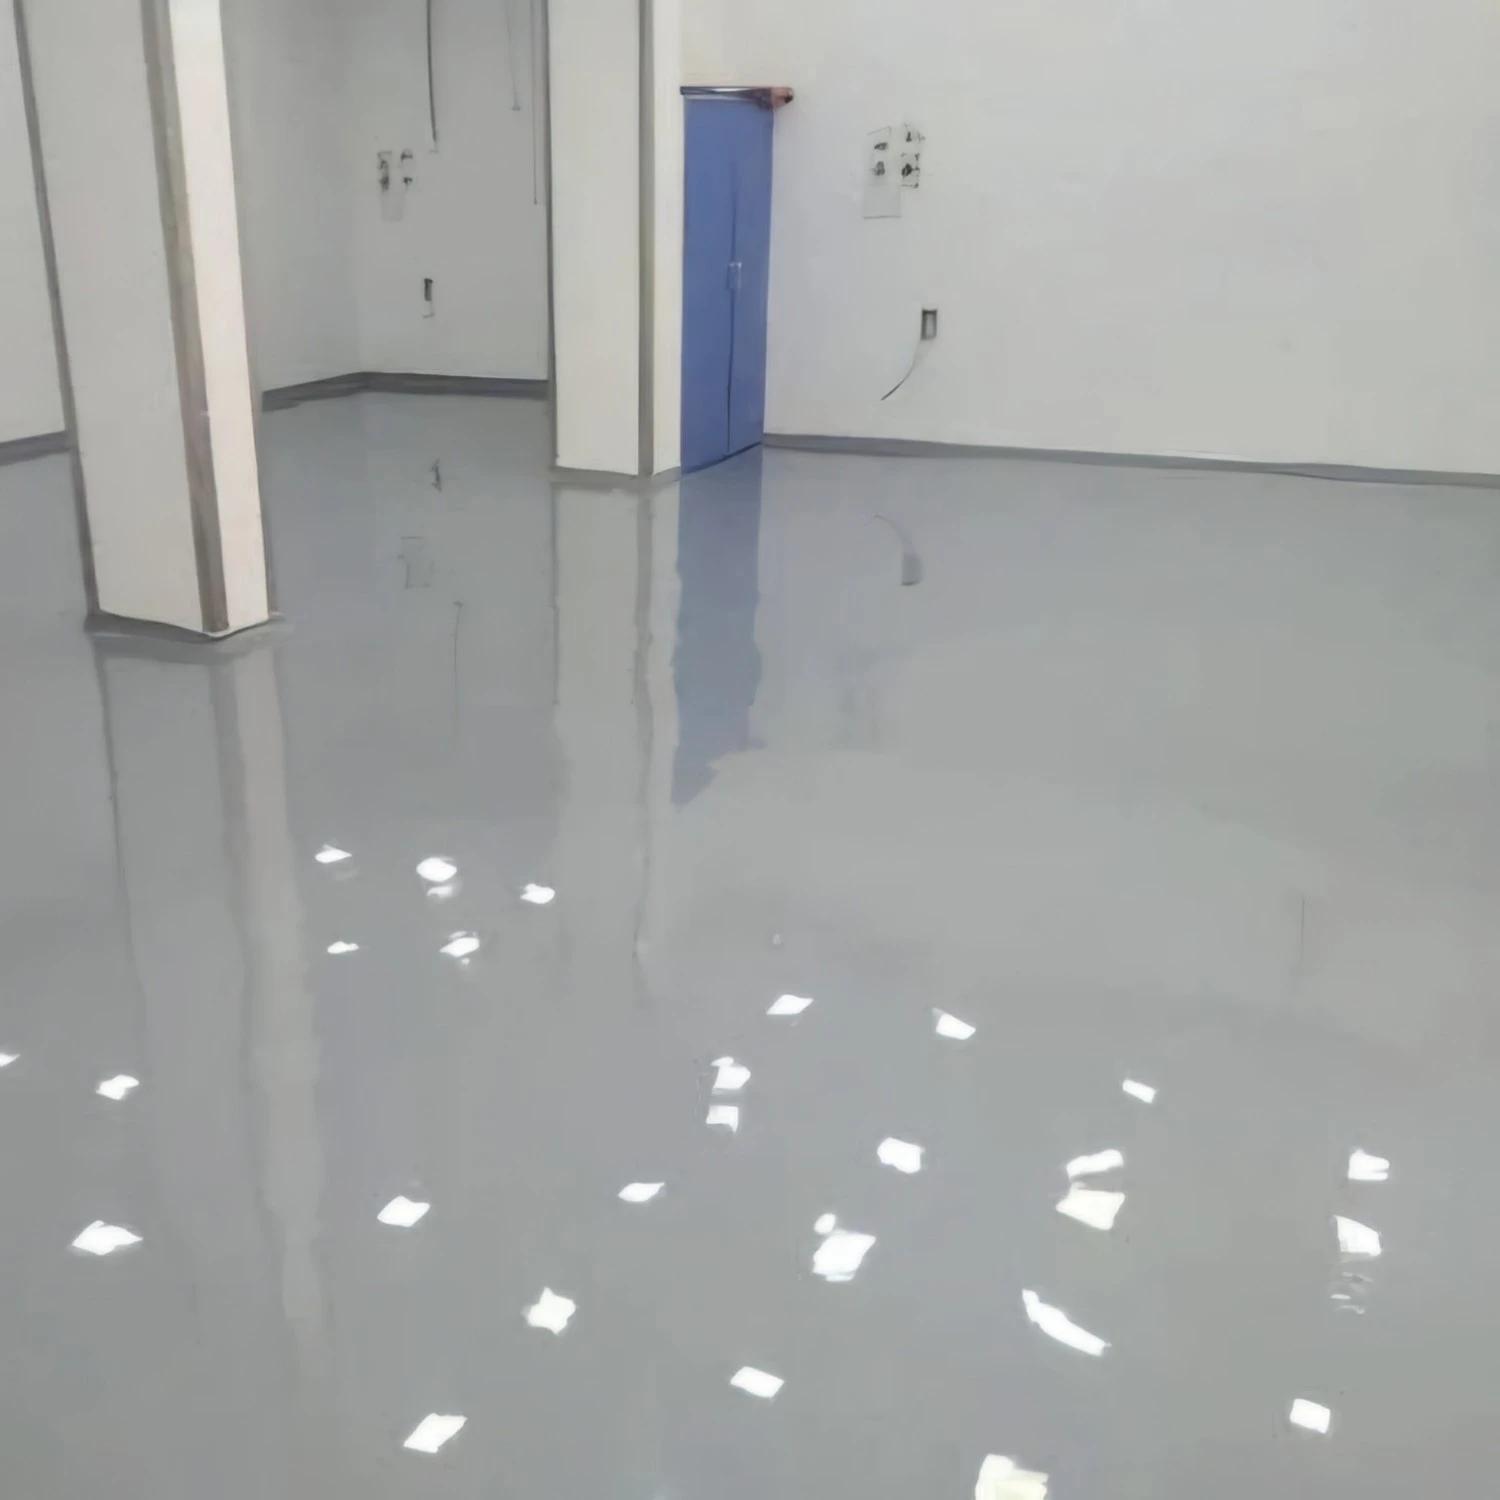
Advantages of Single Color Epoxy Floors
- Highly durable and long-lasting
- Resistant to scratches, impact, and chemicals
- Easy to clean and maintain
- Waterproof and moisture-resistant
- Cost-effective with low maintenance needs
- Provides a clean, modern and professional look
- Quick and efficient installation
- Customizable in a variety of solid colors
- Eco-friendly with low VOC emissions
Before & After
Projects
Step 1
Inspection & Planning

We start by inspecting the floor for cracks, damage, or moisture issues and ensure all materials are perfectly measured and prepared.
Step 2
Surface Preparation

Clean the surface thoroughly to remove dirt, grease, and stains.
Repair cracks and imperfections using professional-grade epoxy fillers.
Grind or shot-blast the surface to create the ideal texture for epoxy adhesion.
Step 3
Primer Application

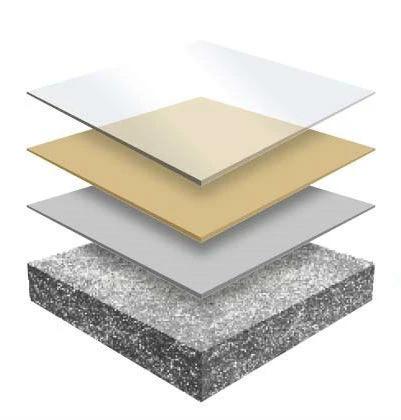
A high-quality primer is applied to seal the surface and ensure the epoxy adheres properly.
Step 4
Epoxy Mixing
We mix the resin, hardener, and pigment with precision to create a consistent, vibrant color.
Step 5
Epoxy Application

The first coat of epoxy is applied evenly using advanced tools like notched squeegees and rollers.
A second coat is added if necessary for durability and uniformity.
Step 6
Final Curing
We allow the floor to cure completely (48-72 hours), ensuring a hard, durable, and long-lasting finish.
Step 7
Quality Inspection

Our team inspects the final product to ensure it meets our high standards and your satisfaction.

We start by inspecting the floor for cracks, damage, or moisture issues and ensure all materials are perfectly measured and prepared.

Clean the surface thoroughly to remove dirt, grease, and stains.
Repair cracks and imperfections using professional-grade epoxy fillers.
Grind or shot-blast the surface to create the ideal texture for epoxy adhesion.

A high-quality primer is applied to seal the surface and ensure the epoxy adheres properly.
We mix the resin, hardener, and pigment with precision to create a consistent, vibrant color.

The first coat of epoxy is applied evenly using advanced tools like notched squeegees and rollers.
A second coat is added if necessary for durability and uniformity.
We allow the floor to cure completely (48-72 hours), ensuring a hard, durable, and long-lasting finish.

Our team inspects the final product to ensure it meets our high standards and your satisfaction.
Residential
- Garages
- Basements
- Laundry rooms
- Home gyms
Commercial
- Retail stores
- Offices
- Showrooms
- Warehouses
Industrial
- Factories
- Workshops
- Warehouses
Other spaces
- Restaurants and cafes
- Healthcare facilities
- Educational institutions