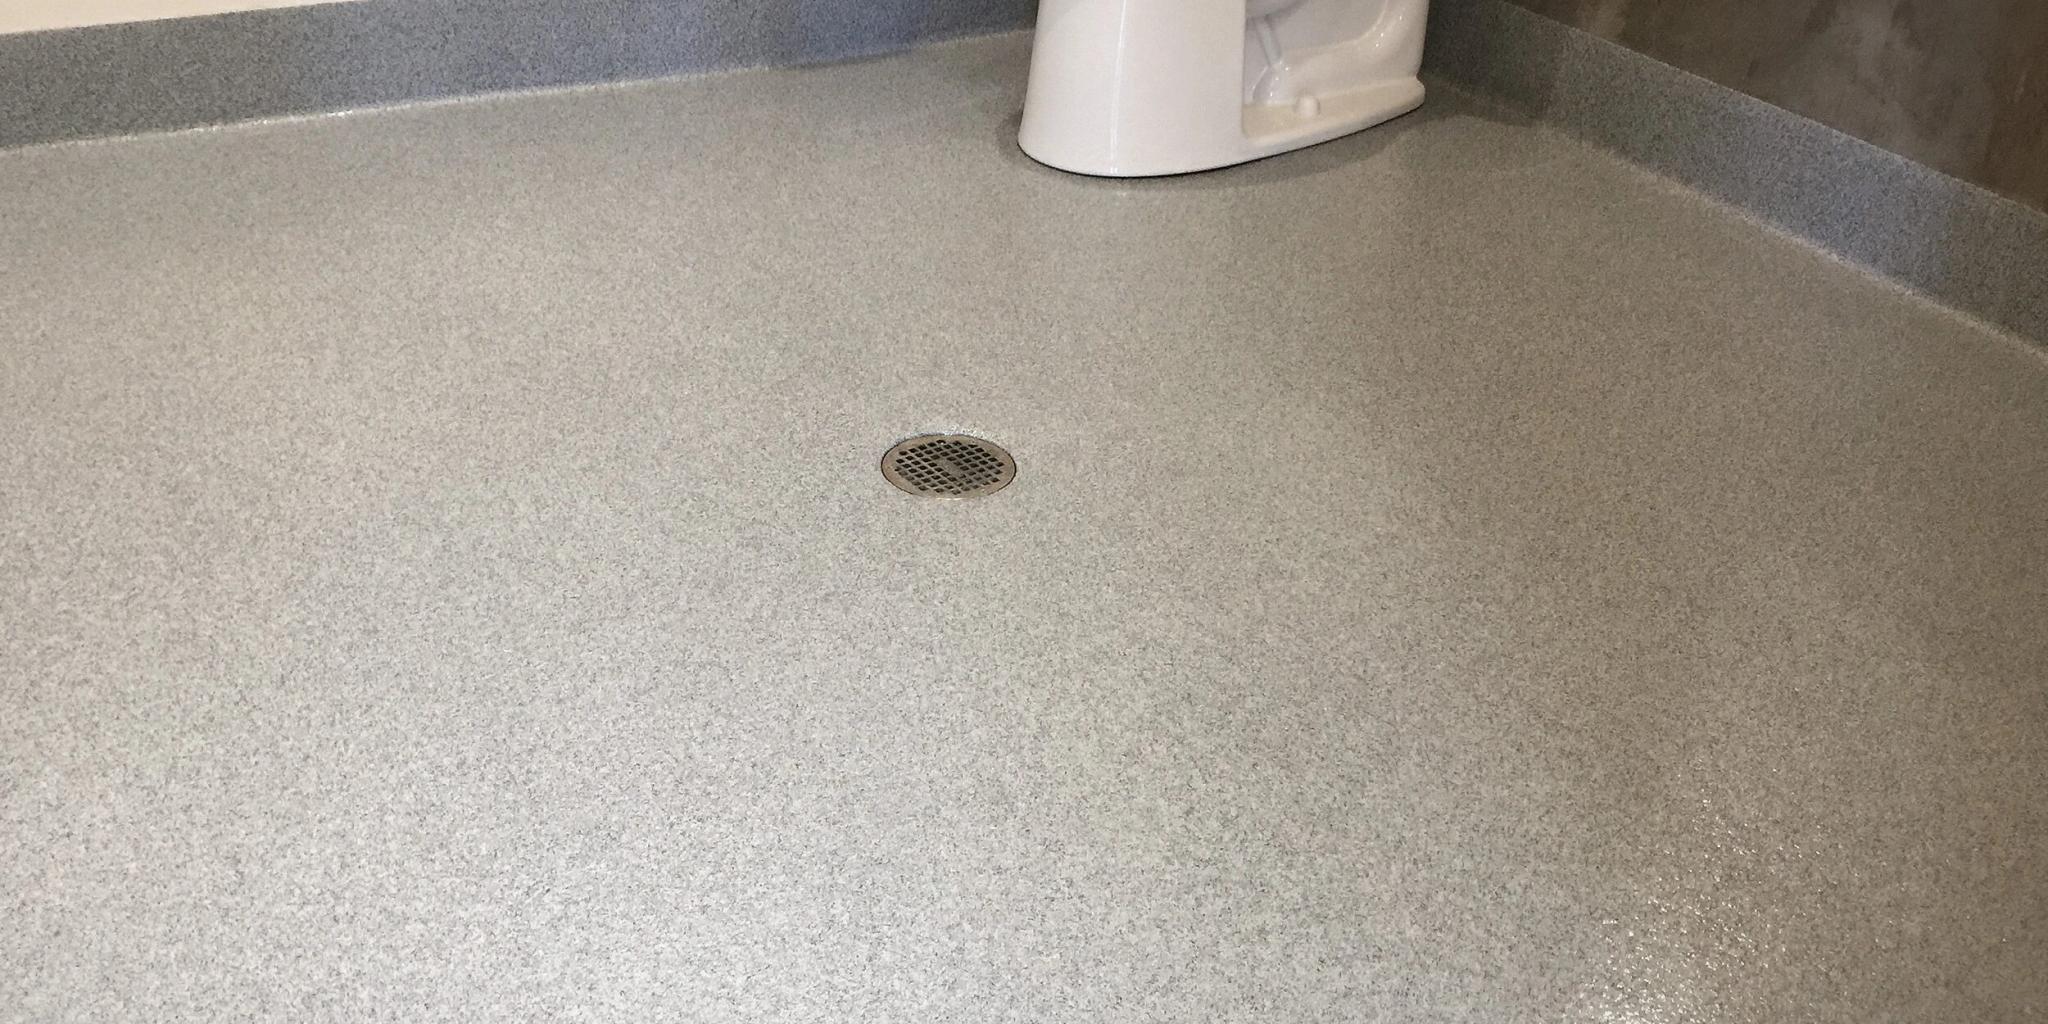
Quartz Floor System



What's a Quartz Floor System
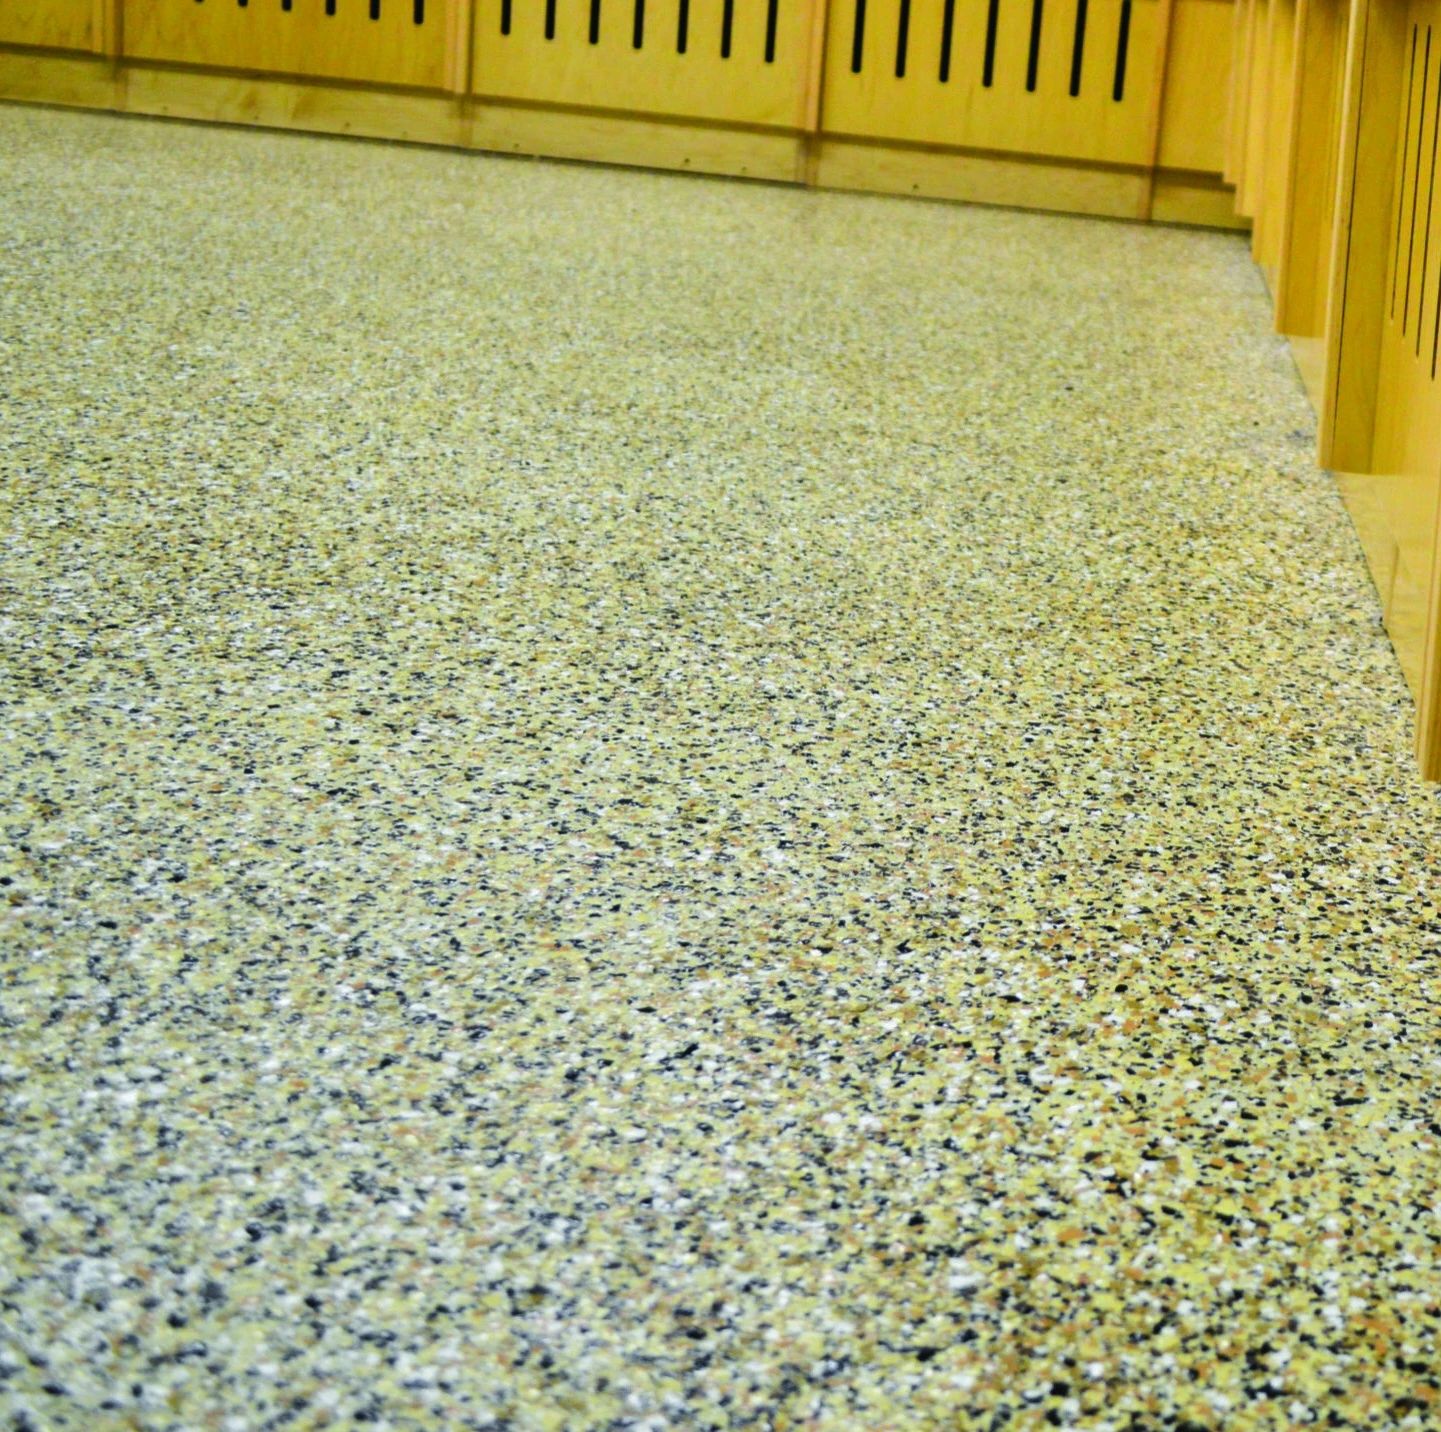
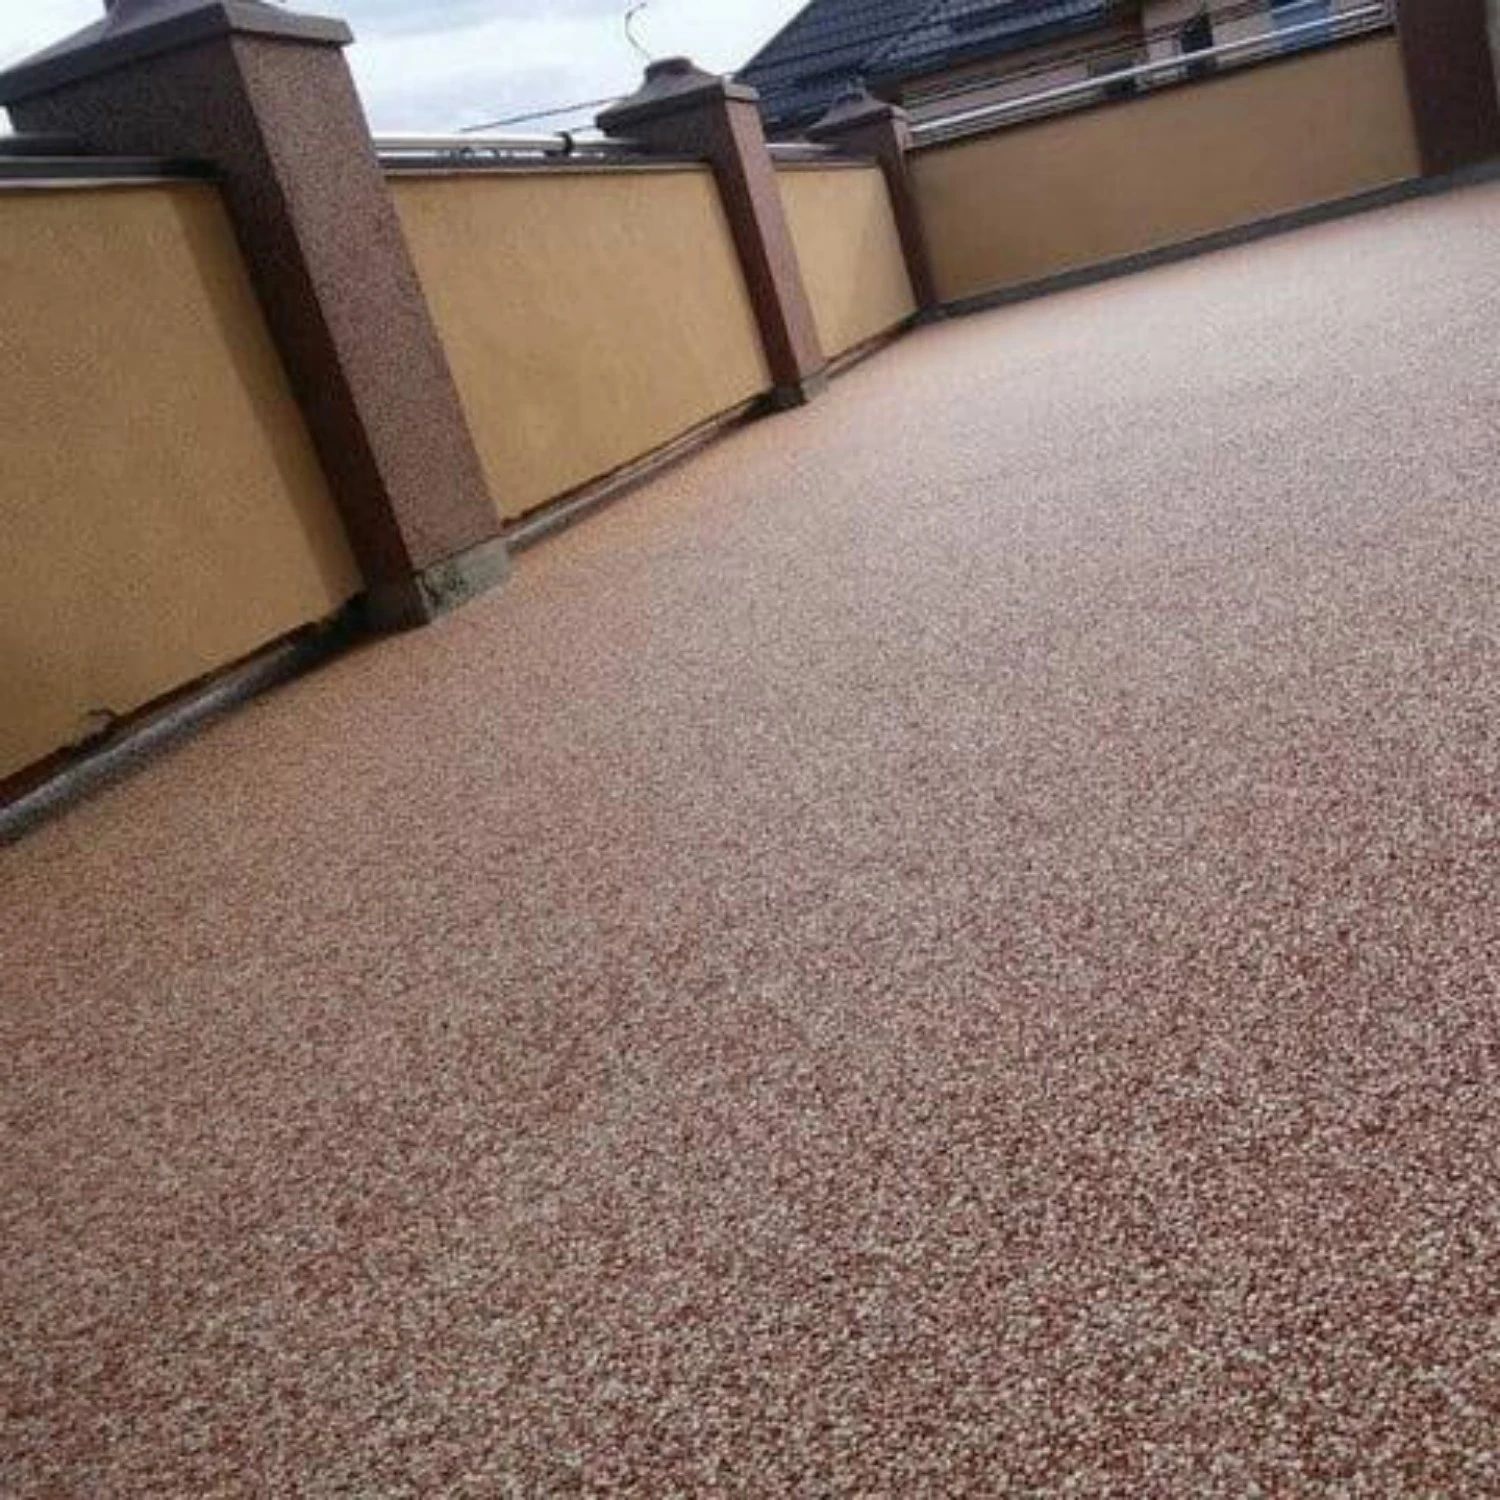
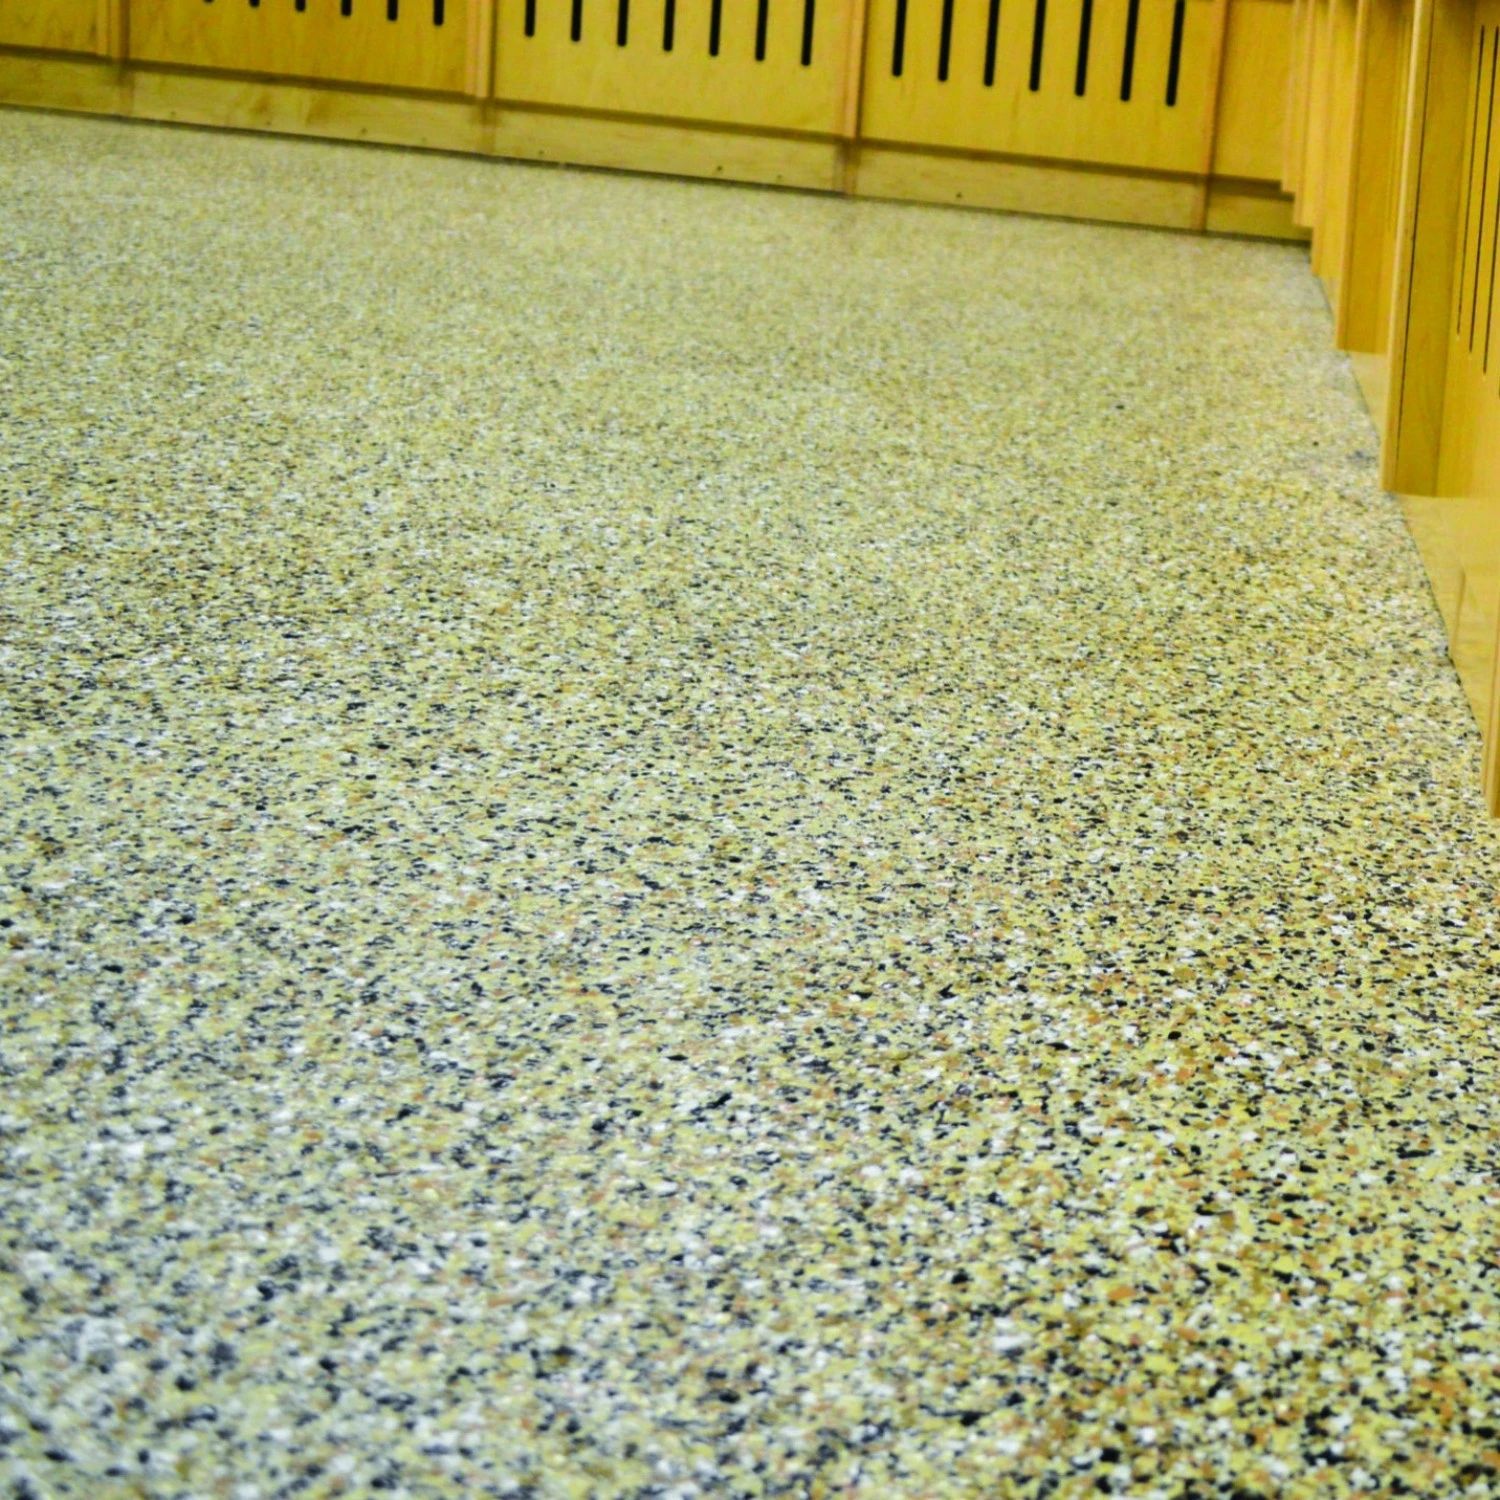
An epoxy quartz floor system is a tough and decorative flooring option designed for high-traffic or demanding environments. It's created by embedding colored quartz granules into a base layer of epoxy and sealing it with a clear topcoat.
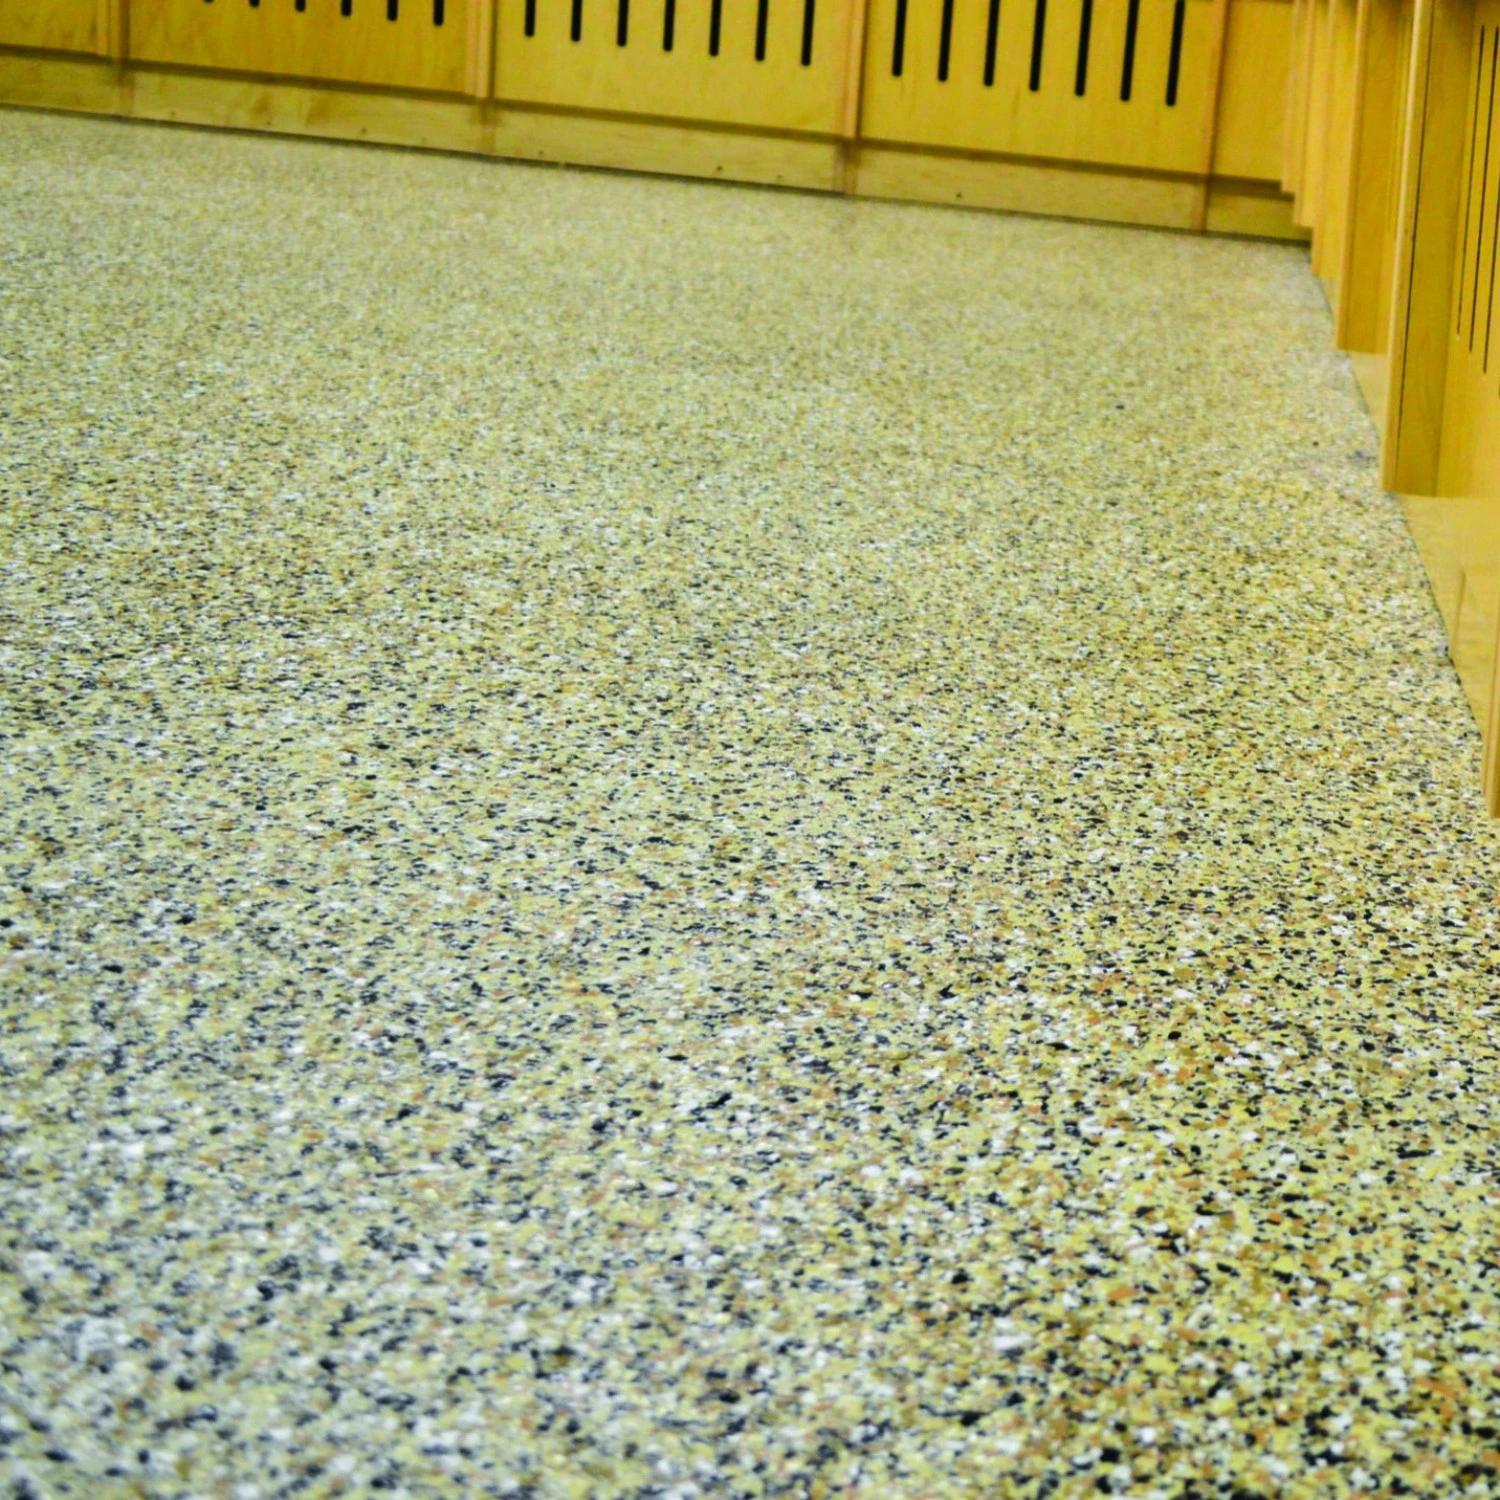
This system provides a seamless, slip-resistant surface that's extremely durable, easy to clean, and resistant to chemicals, stains, and heavy wear. With customizable colors and textures, it's a versatile choice for spaces like commercial kitchens, hospitals, restrooms, or industrial facilities.
Epoxy quartz floors combine strength, safety, and style, making them a long-lasting solution for both functional and aesthetic needs.
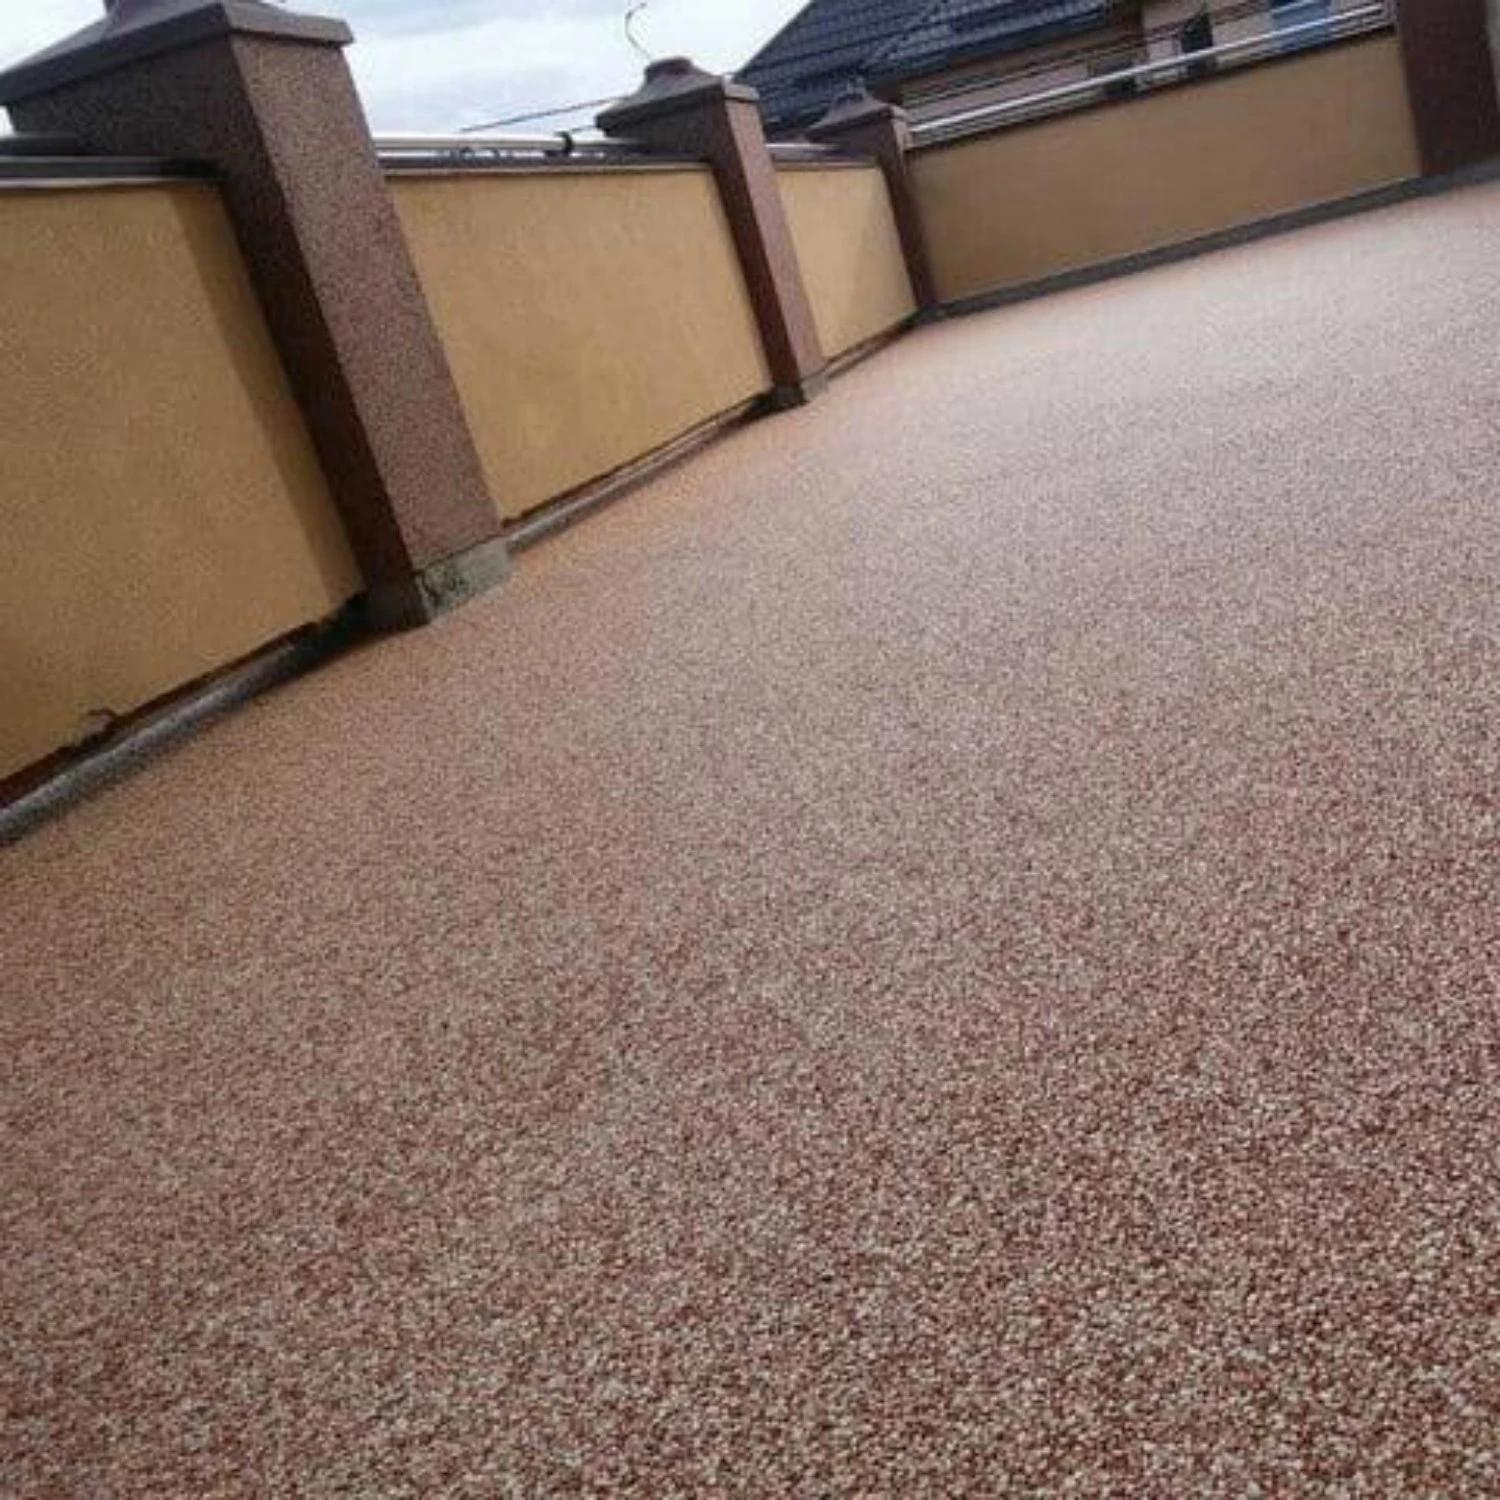
Advantages of Quartz Floor System
- Durability
- Chemical Resistance
- Slip Resistance
- Seamless Surface
- Easy Maintenance
- Customizable Aesthetic
- Moisture Resistant
- Impact Resistance
- Long Lifespan
- Hygienic
- Environmentally Friendly
- Cost-Effective
Projects
Step 1
Surface Preparation

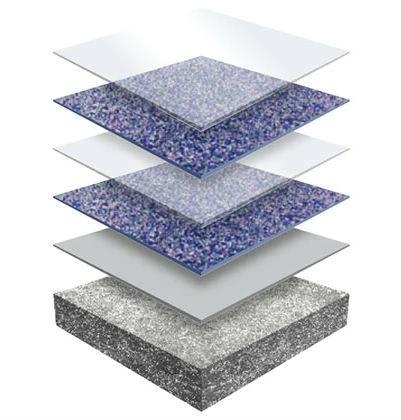
Clean, repair, and grind the concrete to ensure proper bonding and remove all dust.
Step 2
Apply Epoxy Primer

Coat the floor with a thin primer layer and let it cure.
Step 3
First Broadcast of Quartz

Apply the first epoxy layer, then broadcast the first layer of quartz while it's wet. Allow it to cure.
Step 4
Scrape and Vacuum

Remove excess aggregate and vacuum the surface.
Step 5
Apply Second Epoxy Layer
Spread a second layer of epoxy and broadcast the second layer of aggregate. Let it cure.
Step 6
Scrape and Vacuum Again
Scrape off loose aggregate and vacuum the floor.
Step 7
Apply Topcoat
Apply a clear topcoat to seal and protect the floor, then let it cure.
Step 8
Final Inspection

Inspect the floor, clean edges, and ensure full curing before use. This method provides a durable, textured finish for high-traffic and heavy-use areas.

Clean, repair, and grind the concrete to ensure proper bonding and remove all dust.

Coat the floor with a thin primer layer and let it cure.

Apply the first epoxy layer, then broadcast the first layer of quartz while it's wet. Allow it to cure.

Remove excess aggregate and vacuum the surface.
Spread a second layer of epoxy and broadcast the second layer of aggregate. Let it cure.
Scrape off loose aggregate and vacuum the floor.
Apply a clear topcoat to seal and protect the floor, then let it cure.

Inspect the floor, clean edges, and ensure full curing before use. This method provides a durable, textured finish for high-traffic and heavy-use areas.
Recommended Areas for Quartz Floor System
- Commercial Kitchens
- Hospitals and Healthcare Facilities
- Industrial and Manufacturing Plants
- Laboratories
- Garages and Workshops
- Restrooms and Showers
- Retail Spaces and Showrooms
- Warehouses
- Food Processing Facilities
- Schools and Universities
- Patios